Contact Us

Visit us at one of our three store locations to find Irish Jewelry, Claddagh Rings, Irish Sweaters, Irish Foods, Guinness Products, Waterford and Belleek.

Call us at one of the numbers below or use the accompanying form to contact us.

The Irish Boutique - Long Grove, IL (847 634 3540)

Paddy's on the Square - Long Grove, IL (847 634 0339)


228 Robert Parker Coffin Road
Long Grove, IL, 60047
United States

847 634 0339

The Irish Boutique is an Irish import store that has been located in the Chicago land area for over 40 years.  The shop stocks a variety of products ranging from Irish jewelry, crystal, china, food, sweaters, caps, t-shirts and a wide variety of Irish gifts. 

Cooking Blog

Visit our blog to read about Michelle Barry's adventures in cooking and eating Irish cuisine and to learn about new products and upcoming events. 


Filtering by Category: Vegetarian

Hargadon’s Brown Bread

john barry

IMG_20180201_130645.jpg


I made my own soda bread awhile back and it was brilliant. I was amazed that something so simple and easy to make could be so delicious. Then I made it with Odlum’s coarse wholemeal flour.  Predictably, it was even better.

I used a recipe that was given to my brother-in-law by a customer.  The recipe included her personal baking notes. I followed the recipe as altered by the notes.  Except that I didn’t bake it in a loaf pan because I was hungry and thought that it would be done quicker if I just shaped and baked it on a sheet pan. It still took 45 minutes but it was so worth it.  It reminded me why most soda bread in Ireland is made from this type of flour. More flavor, better texture.  Although not traditional, I sprinkled the loaf with poppy seeds before putting it in the oven.  

Once the bread was done, I immediately ate a huge hunk for lunch along with some Irish cheddar, a hard boiled egg and some tomato jam. It was the perfect simple lunch. I ate some later with peach-apricot jam from this little gem right across the way from Paddy's, creme fraiche and a cup of tea.  

brownsodabread.jpg

Of course I had to look up Hargadon’s after tasting this bread credited to it.  According to www.goodfoodireland.ie

 Back in the mid 1800’s, when this pub first opened, Hargadons was a well-loved, local hostelry with a truly unique quality. Despite the prevalence of music bars and the myriad traditional musicians in the country, Hargadons remained a ‘quiet’ bar, devoid of music and dedicated to its position as a genuine sanctuary. This policy remained in situ until fairly recent times and despite it being relaxed in the last years, it remains free of television and devoted to conversation, story telling and of course good food. The pub has been at the heart of Sligo life for over one hundred and fifty years and despite being closed for some of them, has recently returned to its rightful place, close to the heart of Sligo folk and visitors. 

It sounds like the kind of place where this bread must have originated.

If you are baking this, you must make sure to preheat your oven before you start to get your ingredients together.  This bread comes together so fast that if you don’t, you will be waiting for your oven - not the worst problem to have.

Hargadon’s Brown Bread  

  • 3 cups coarse wholemeal flour
  • 1 cup all-purpose flour
  • 1 teaspoon baking soda
  • 1 tablespoon salt
  • ⅓ cup sugar
  • 1 ¼ cup buttermilk
  • 2 large eggs

Preheat your oven to 375F.

Mix all of the dry ingredients together in a large mixing bowl.

Beat the eggs and the buttermilk together in a small bowl.

Create a well in your dry ingredients and pour the buttermilk-egg mixture in.

Using a wooden spoon, or your hands (I found it was easiest to use my hands and that no additional buttermilk was necessary) mix the dry and wet ingredients until no dry flour remains.

Shape the dough into a round on a greased sheet pan and cut an X across the top. The X should go about ⅔ of the way deep into the loaf.

Top with poppy seeds (optional).

Bake for about 45 minutes or until a cake tester comes out clean.

Cut off a hot slice, slather with salted butter and enjoy.

My lunch date. She's getting so big and talkative. 

My lunch date. She's getting so big and talkative. 

Back in the Saddle: Apple Crumble

john barry

IMG_20171001_093813.jpg

Despite the balmy weather, we’ve been doing a lot of fall activities lately, including a trip to the pumpkin patch and driving around the neighborhood to see which houses have their Halloween decorations up.  Emmett LOVES the latter, and memorizes which houses have which decorations.  He remembers them all from last year too, so he knows which streets to check for his favorites.  “Scary kitty cat with head that moves” is his #1.  

IMG_20170930_170357.jpg

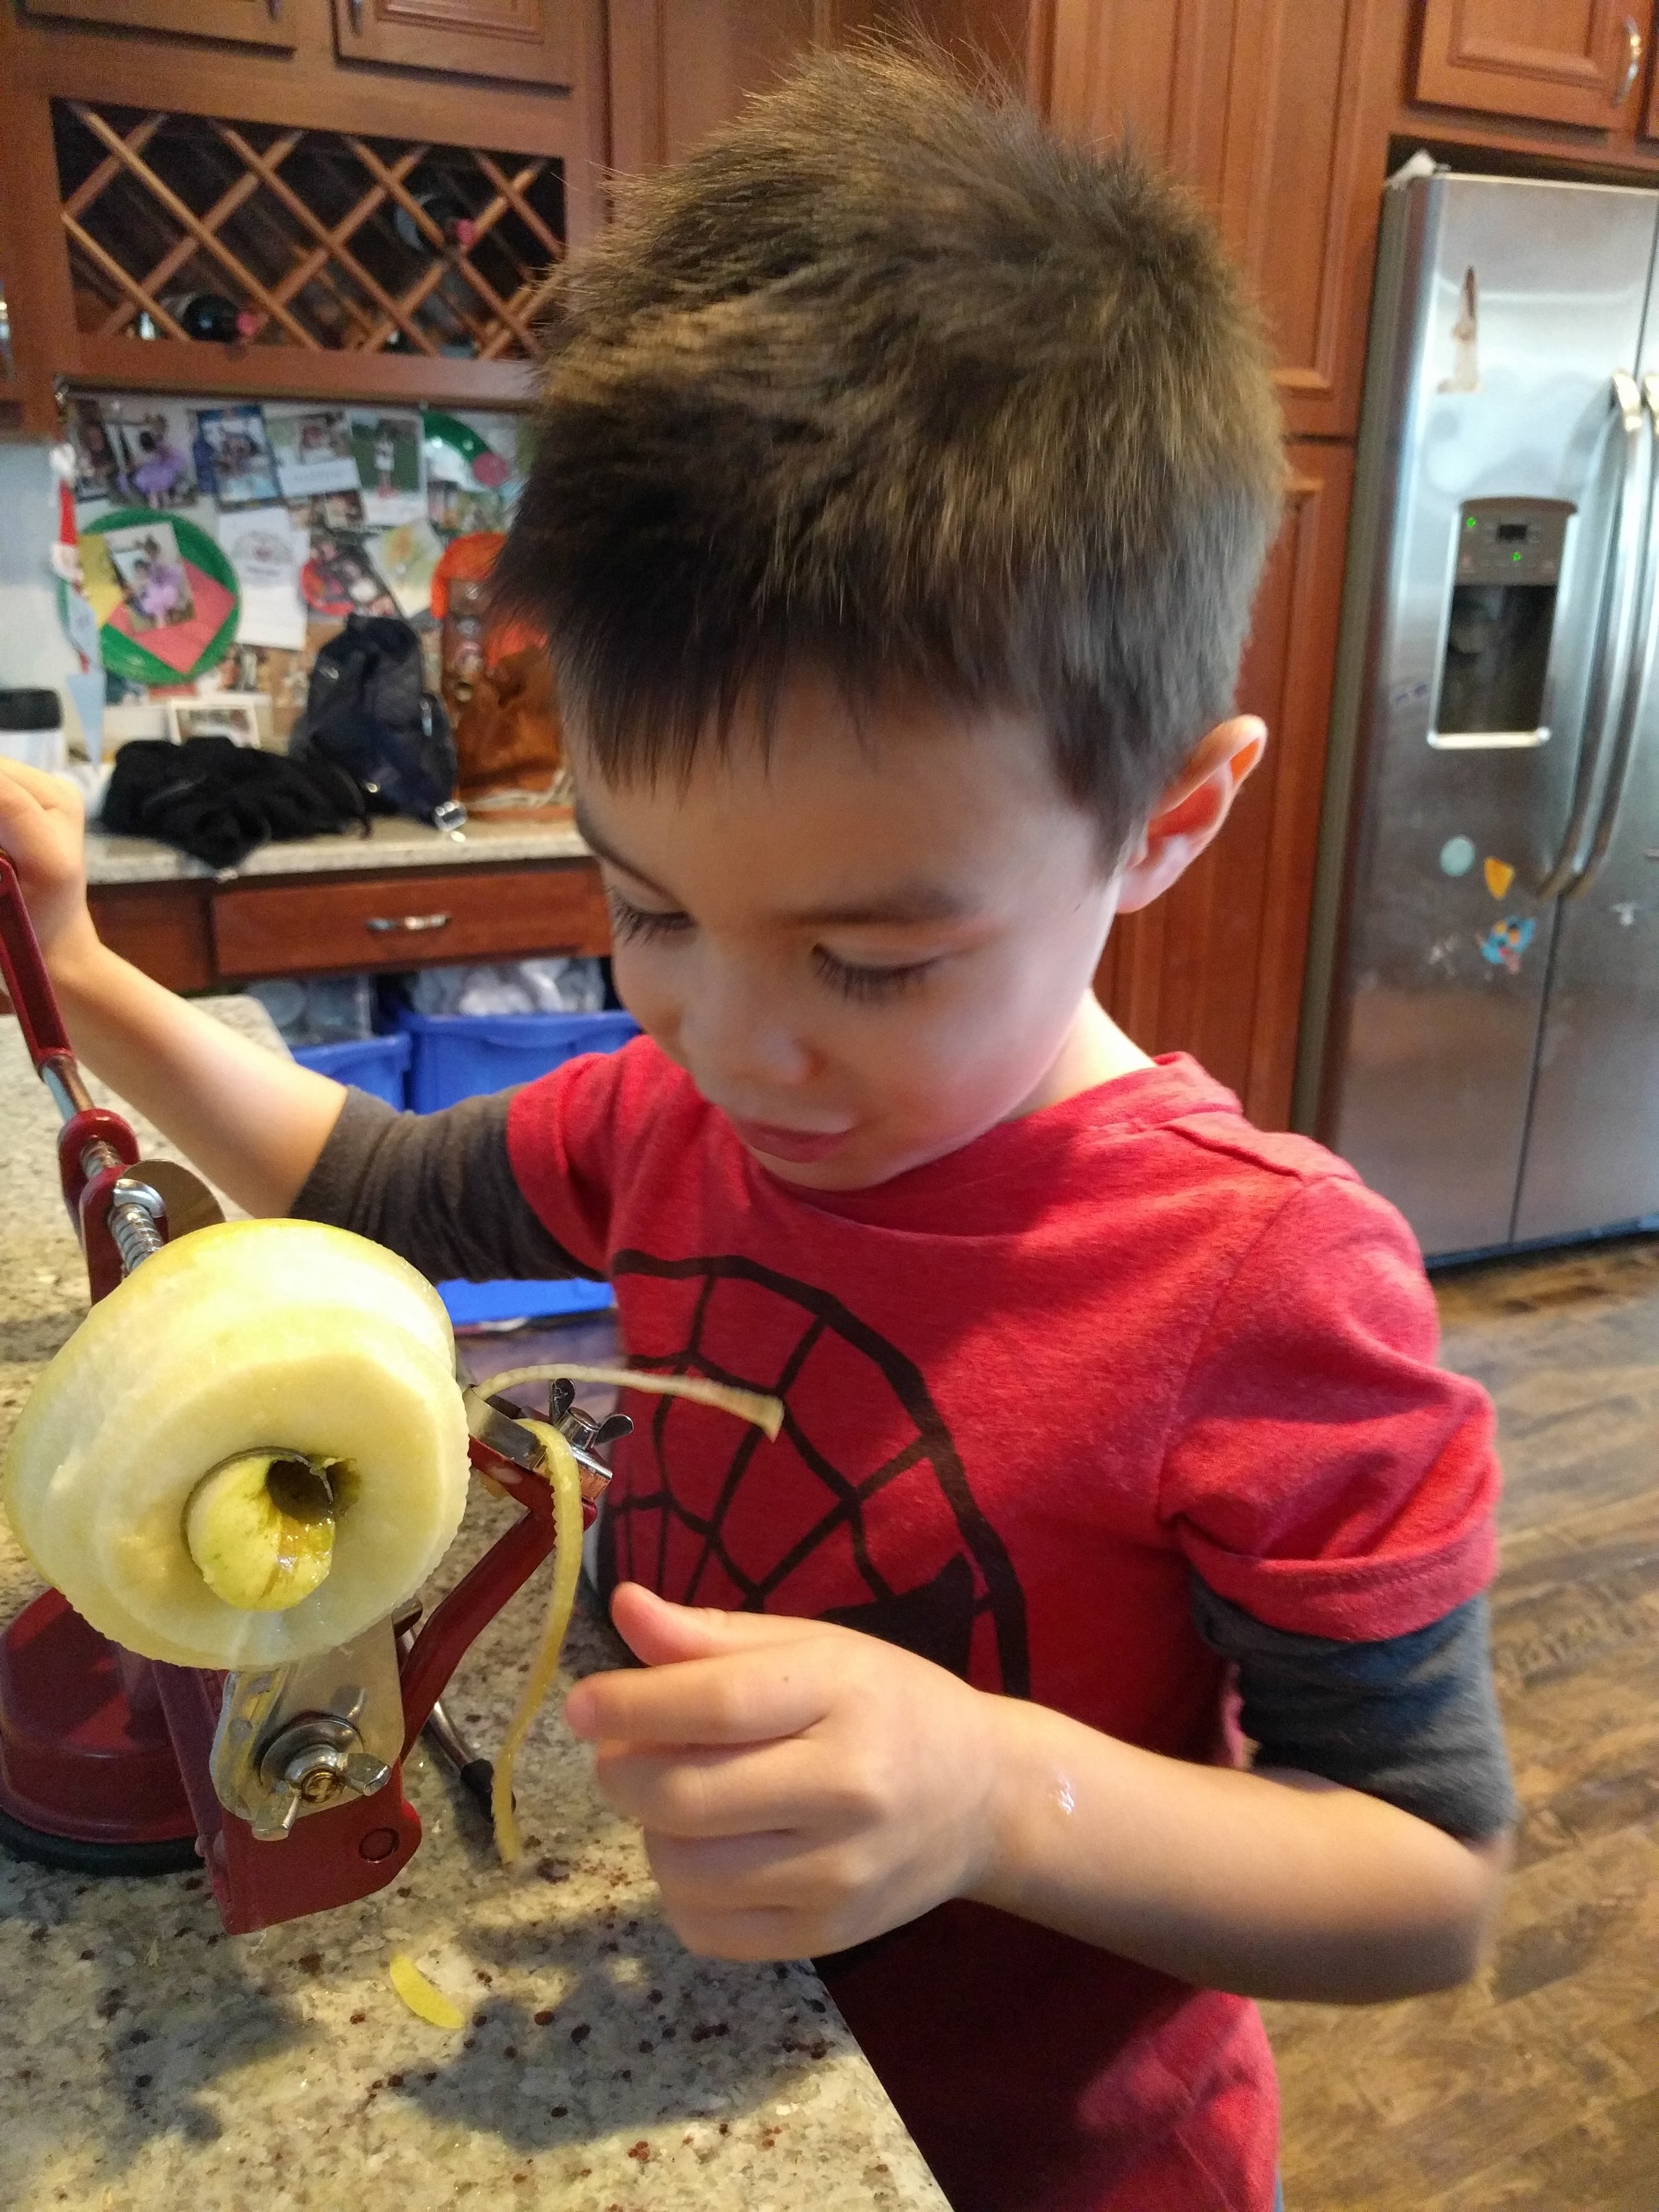
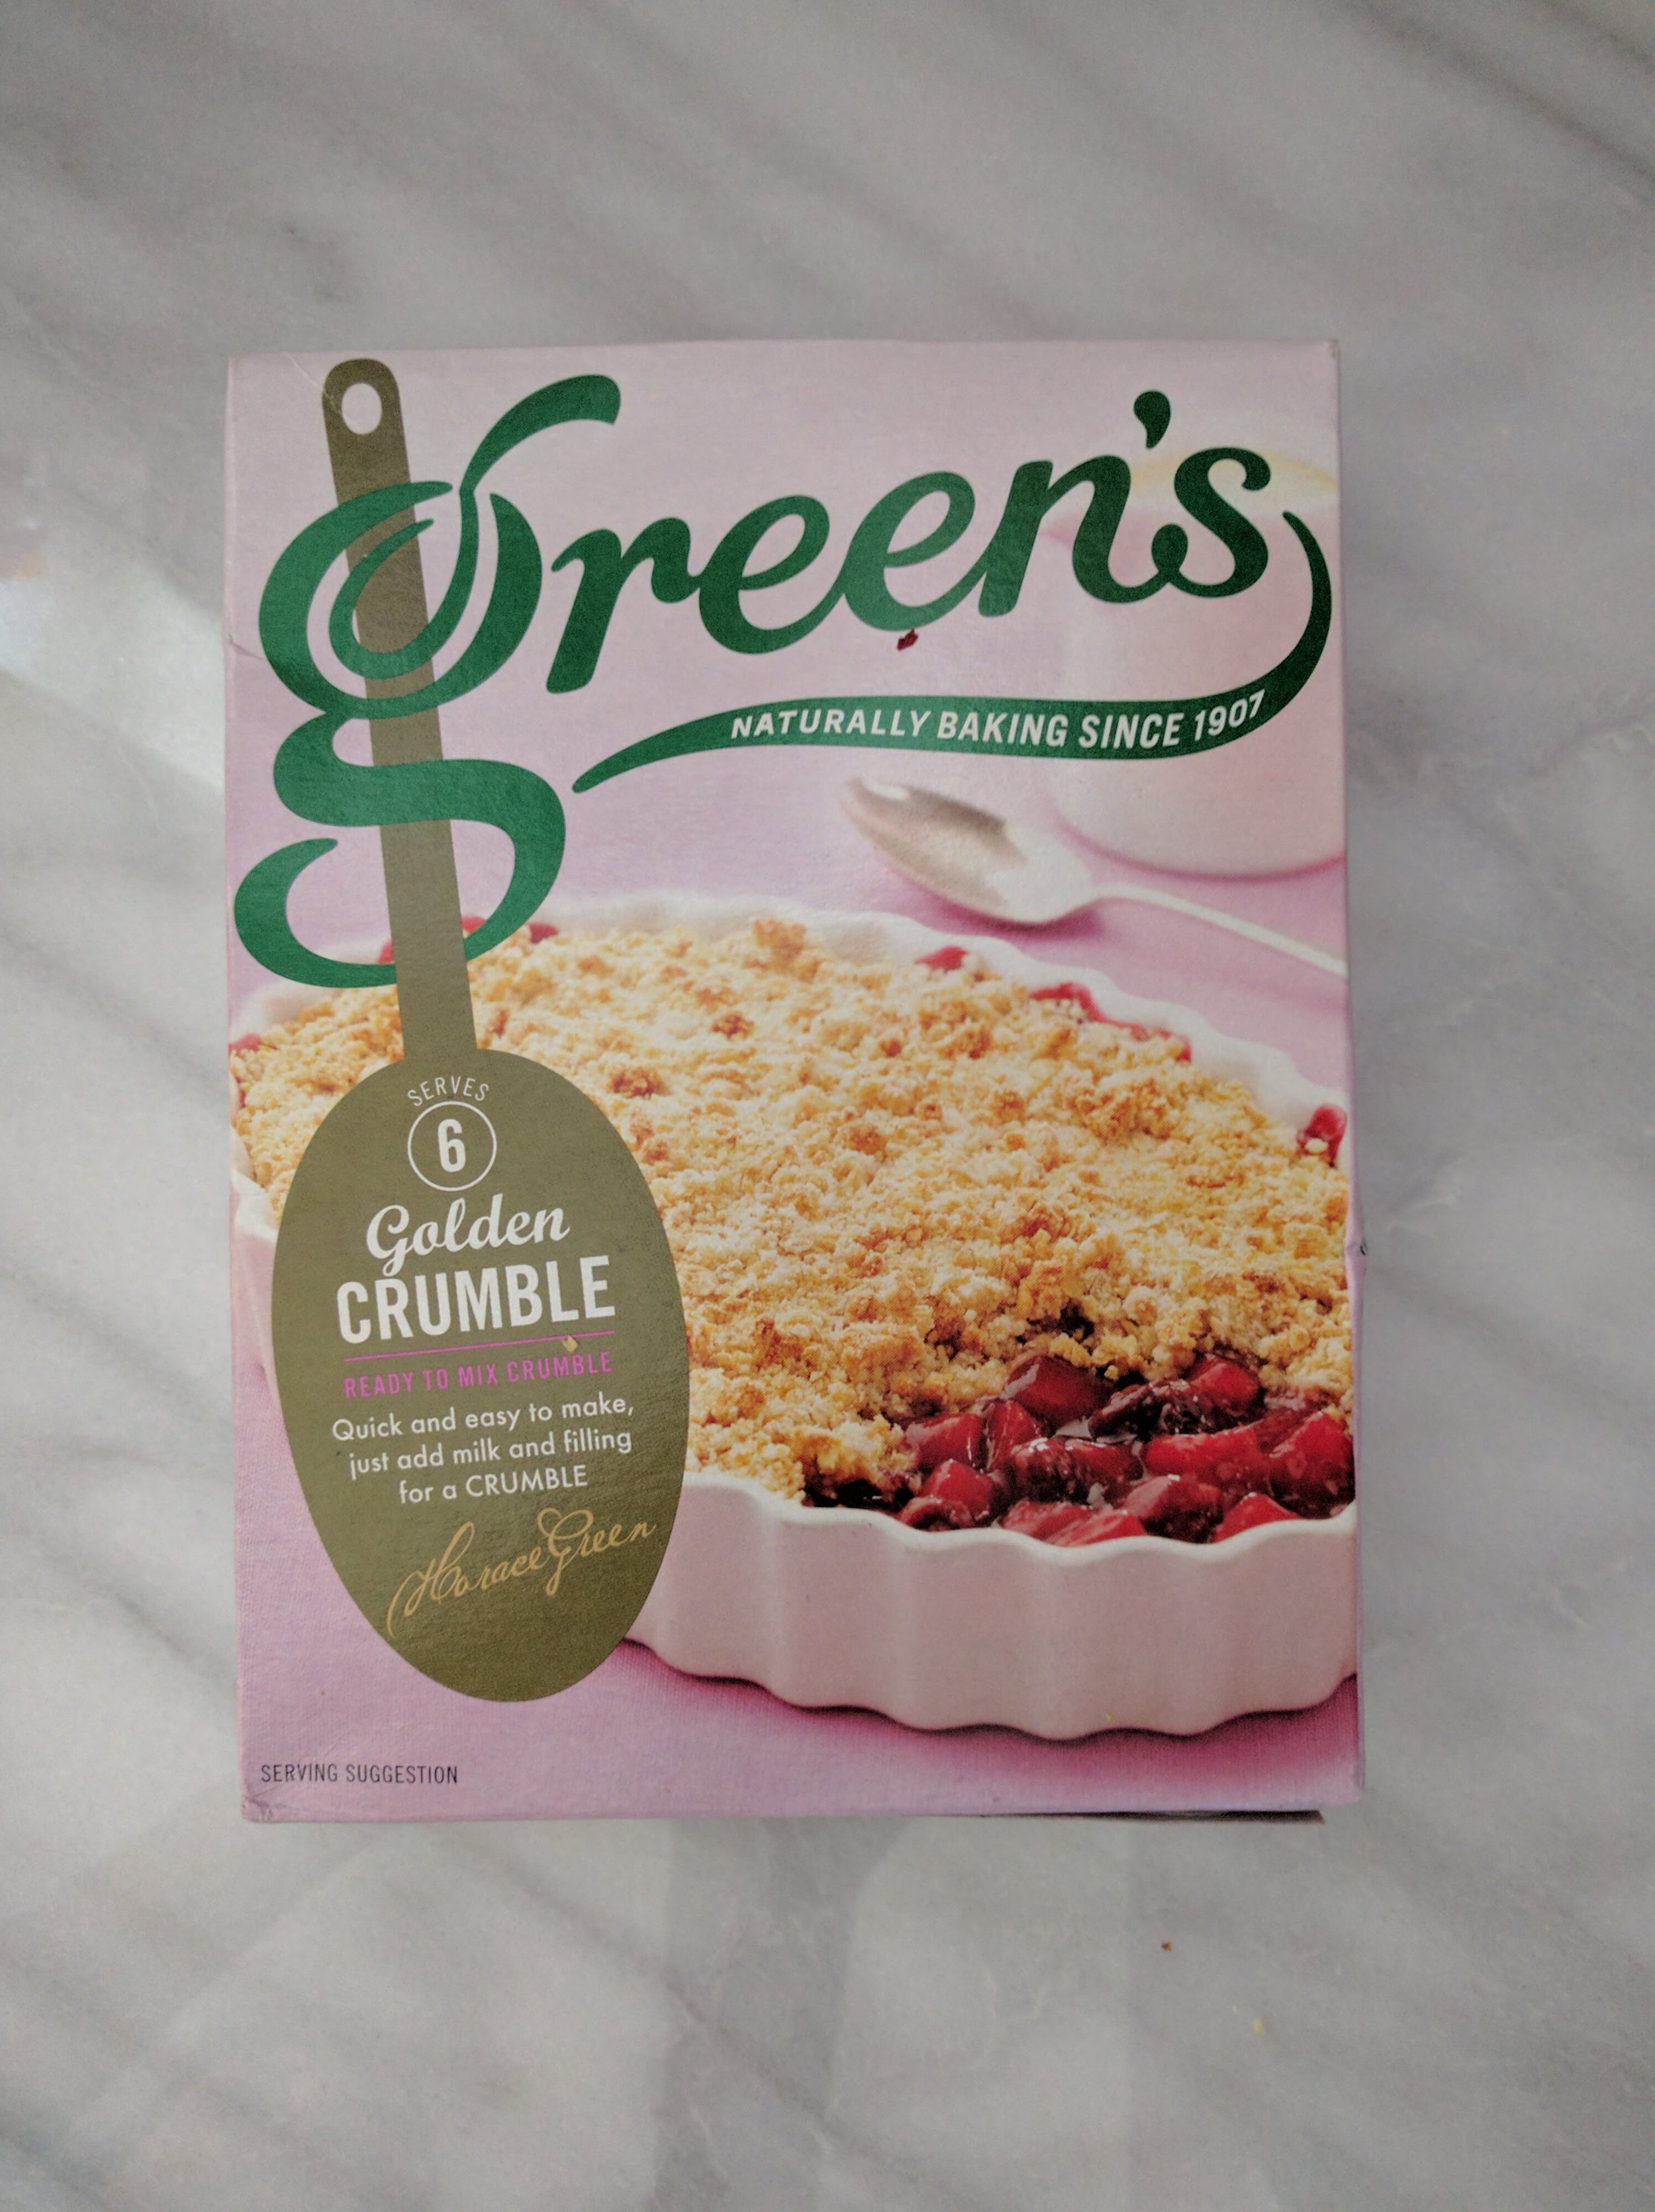
I left September to making sauce from the last of the good tomatoes but now that it’s October, I think I’m ready for some baking.  Apples. Pumpkin. Warm spices.  All that stuff. What better way to get back in the saddle after a failure then to have a little help? My brother-in-law gave me this fruit crumble mix the other day and it was the perfect re-introduction.  Fail-proof. Fast. And a good excuse to get out the old apple peeler-slicer-corer that the kids love to use so much. The concept is: mix the crumble topping from the box with a splash of milk and cover your fruit filling with it.  Pop it in the oven until it’s all bubbly and golden and eat.  With ice cream, of course.

IMG_20170930_165958.jpg

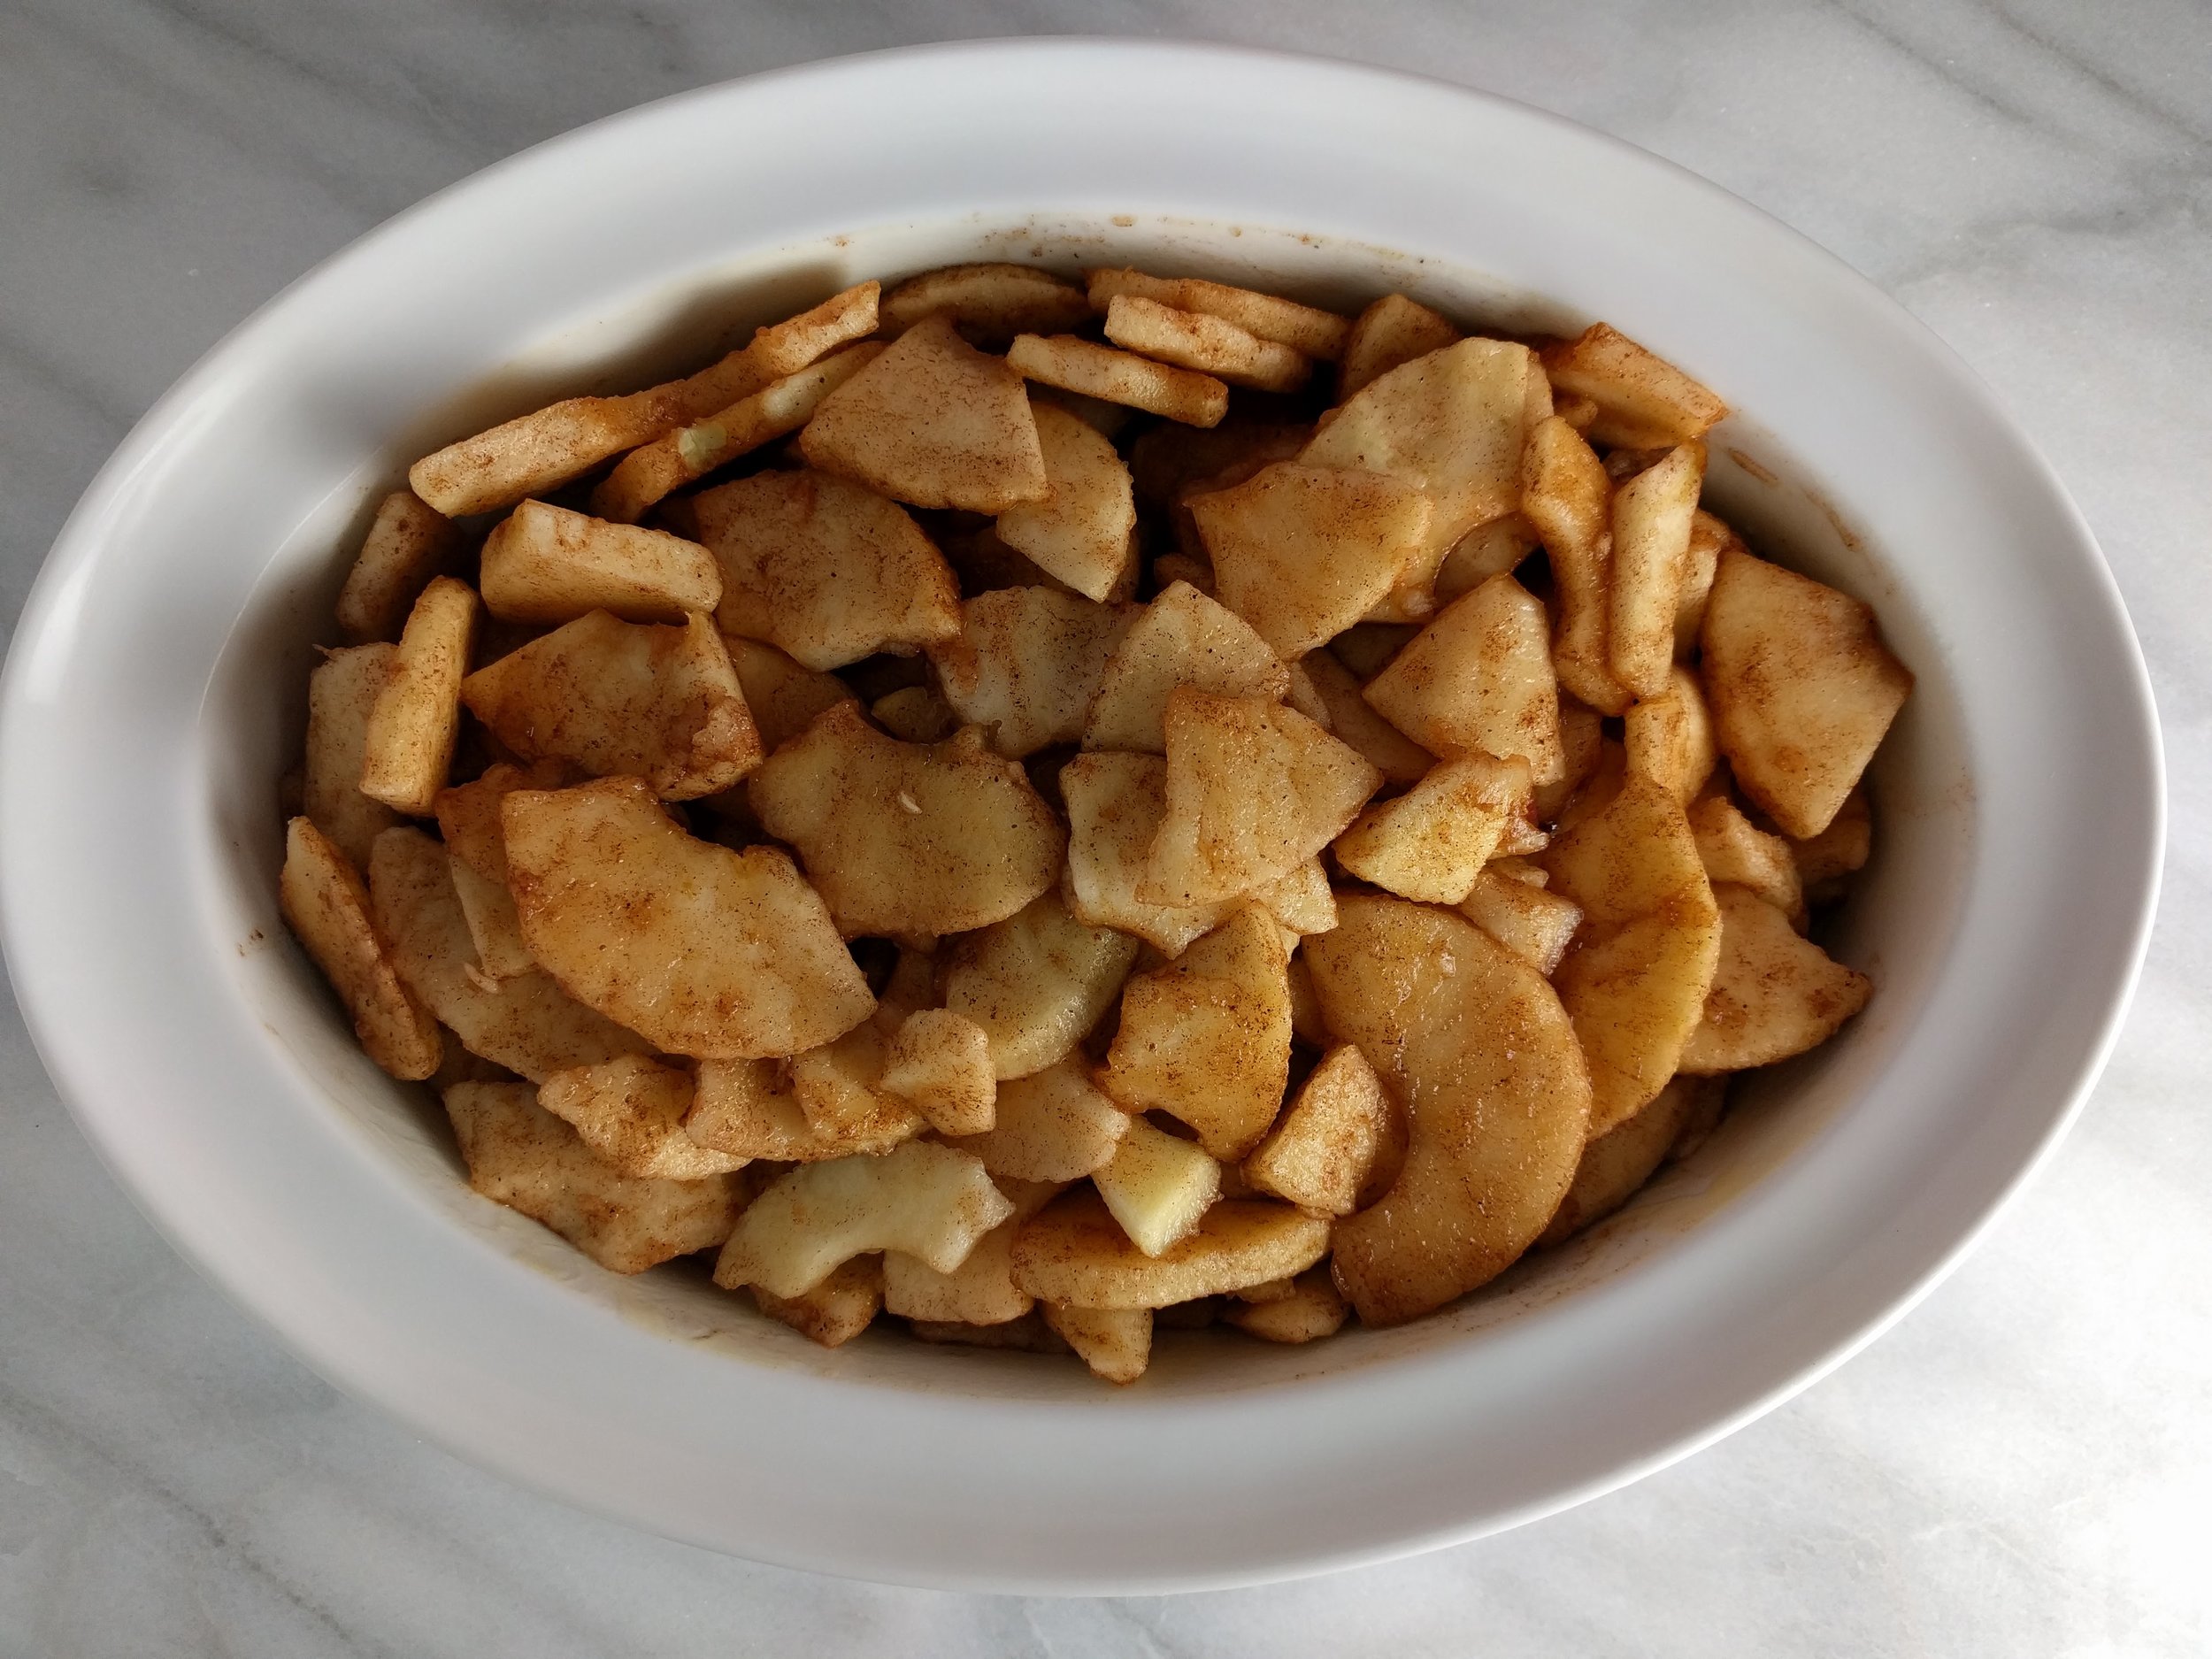
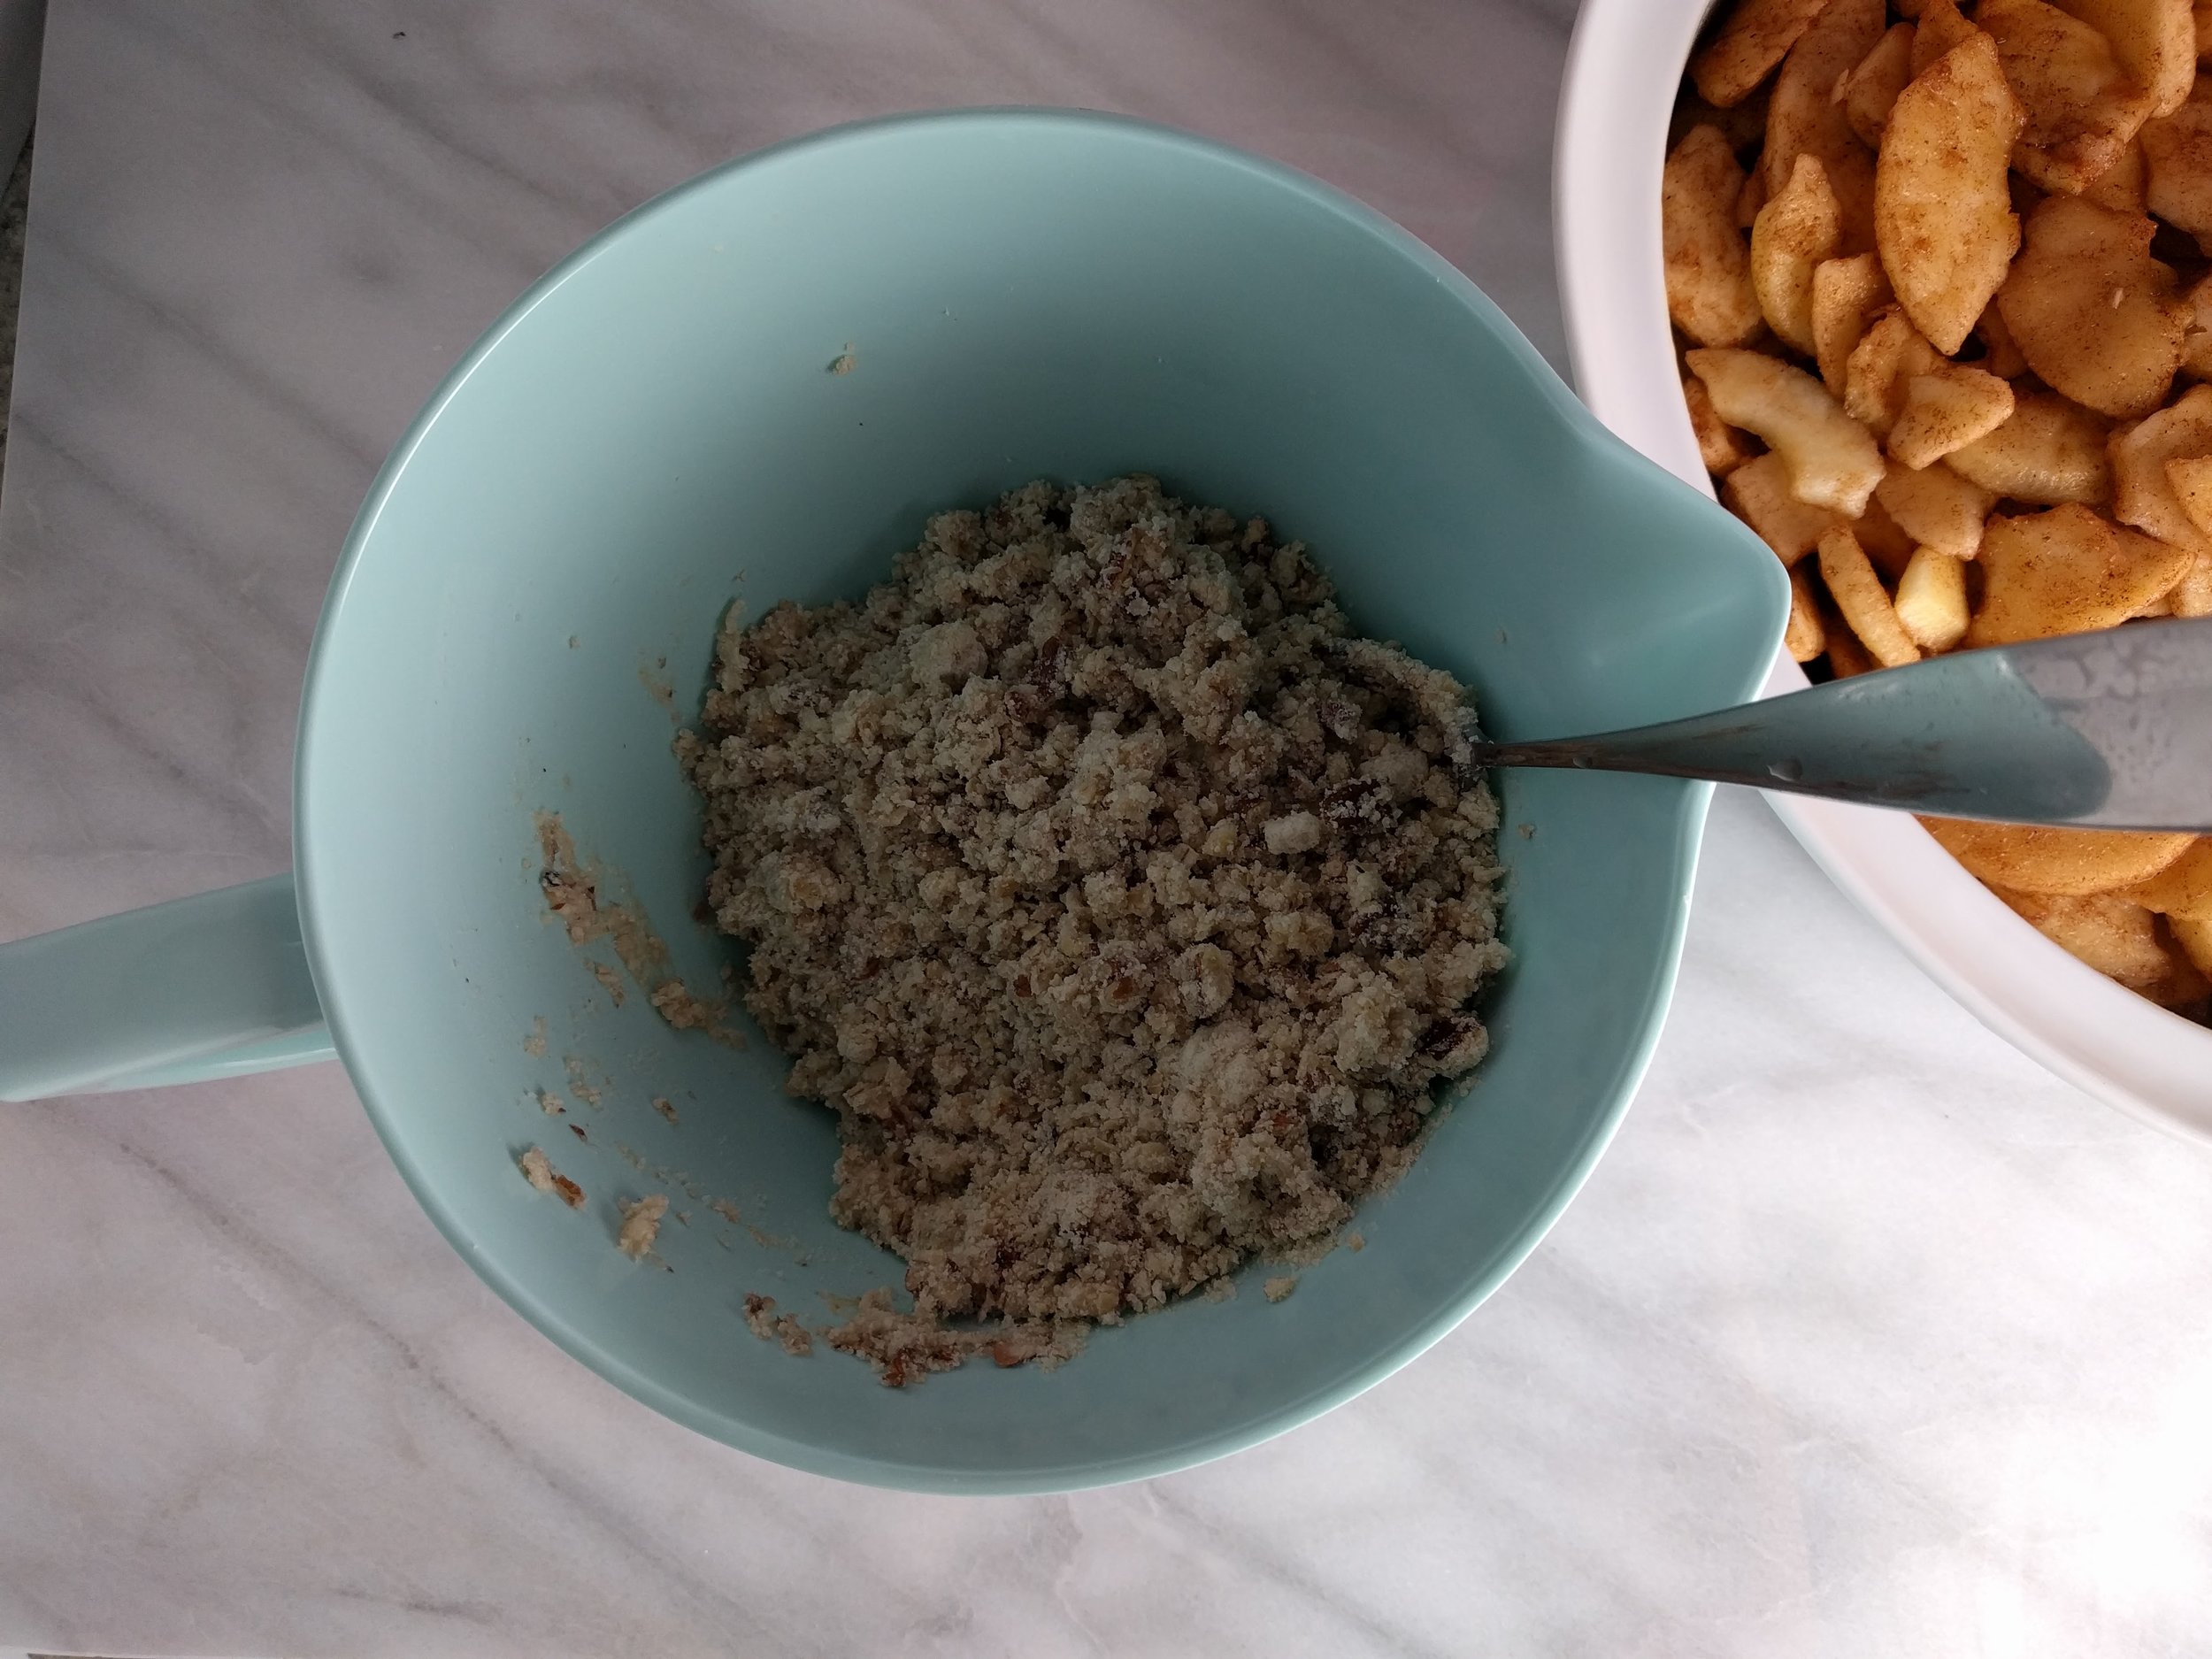
It turned out to be a good project for baking with little ones. They were able to peel, core and slice the apples (with the help of our little gadget), toss them with a little lemon juice, cinnamon and sugar, and mix the crumble topping with the milk.  As a loss reduction strategy (and to avoid a crazy mess), I was in charge of putting the filling in the baking pan, topping it with the crumble mix and putting the whole thing in the oven. About 50 minutes later the whole thing was bubbly, the topping browned and the house smelled like fall.

IMG_20170930_172901.jpg

Crumble, like pie, really benefits from a chance to rest and cool before digging in - so the juices are absorbed back into the filling instead of seeping out all over the bottom of your pan. For this reason, I try to bake these types of desserts when I’m actually hungry for real food and prepared to wait awhile before sampling. This crumble stayed warm for hours.   We hung out, ate dinner, then played monopoly before tucking into it a few hours later and it was still slightly warm. Perfect with a scoop of cold vanilla ice cream.  

IMG_20170930_172917.jpg

Eve probably enjoyed it the most. She and I shared some for breakfast the next day topped with plain greek yogurt and salted almonds.  Notice I took no photos of the actual eating part. I guess we were all just focused on the food.

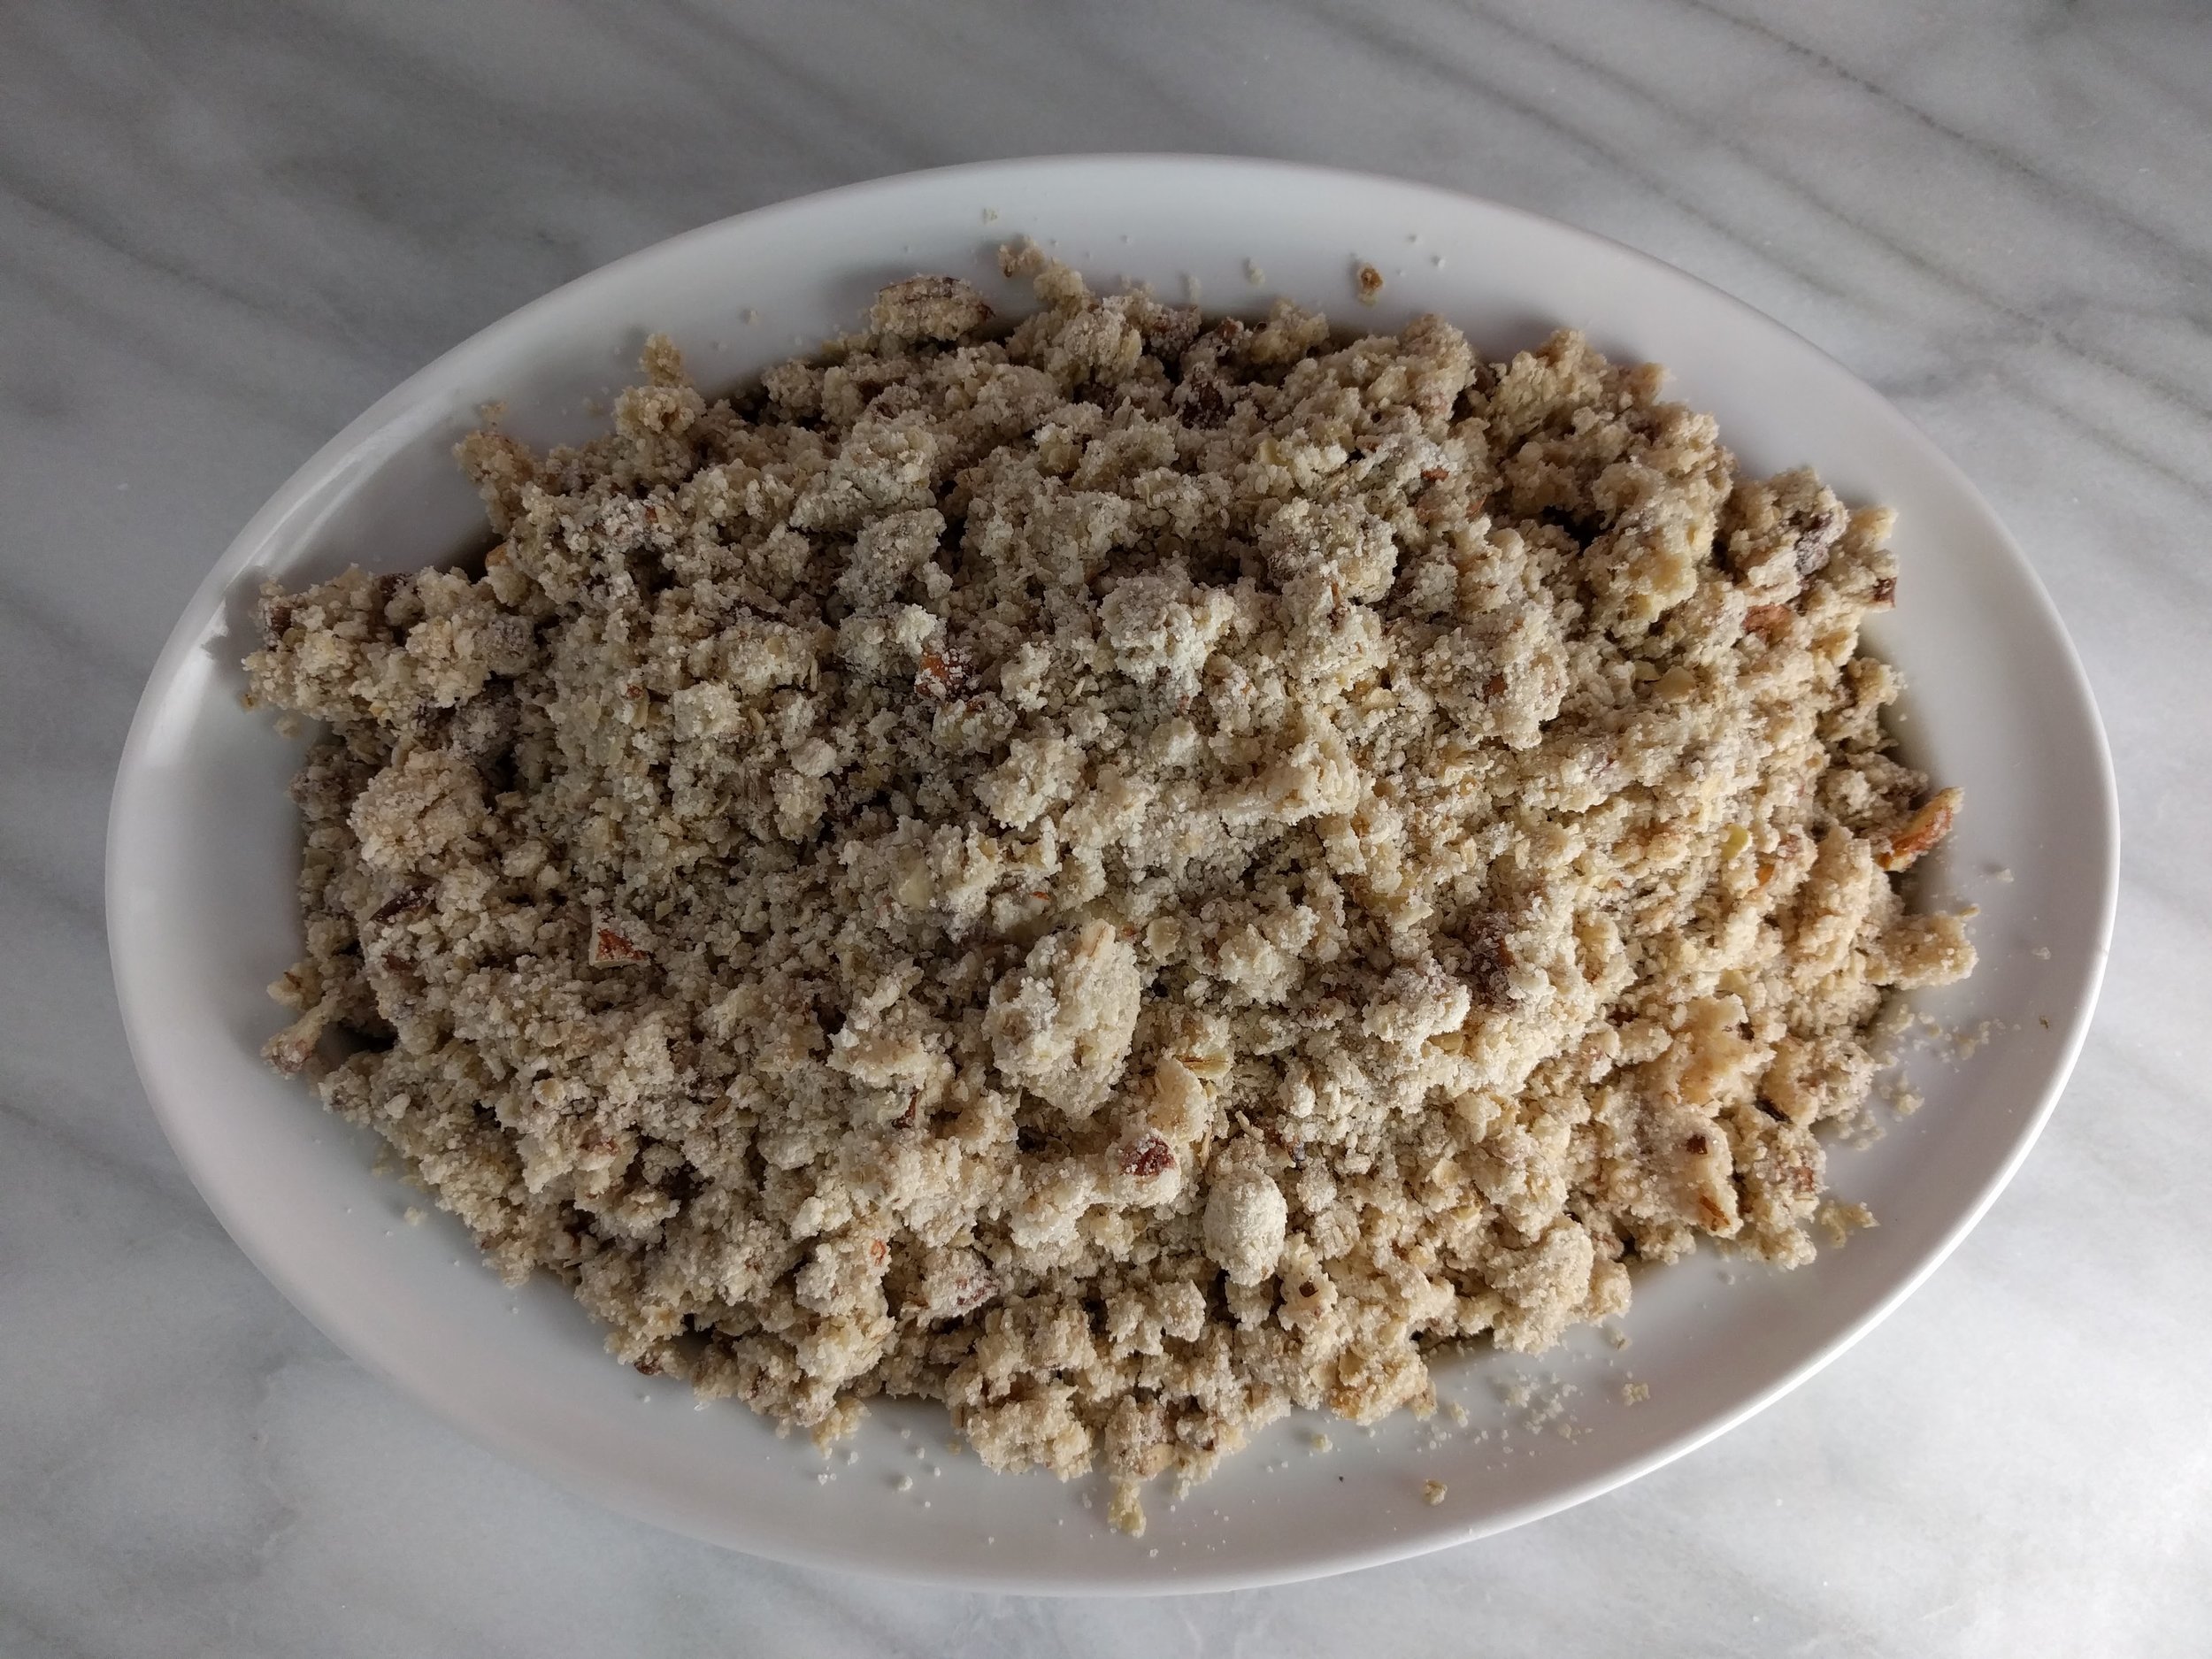
Oven ready.  At this point I had probably invested about 15 minutes in the entire dish (including supervision of little helpers). 

Oven ready.  At this point I had probably invested about 15 minutes in the entire dish (including supervision of little helpers). 

Apple Crumble

  • 1 box of Green’s crumble mix, available at Paddy’s on the Square in Long Grove
  • 20 ml milk (which roughly equals a splash, I was surprised at how little you need, so start small)
  • ⅓ cup almonds, roughly chopped (optional)
  • 5 medium apples, peeled and sliced, I used a mix of Gala and Golden Delicious
  • 1 teaspoon cinnamon or apple pie spice
  • Juice of ½ lemon
  • 2 tablespoons of sugar
  • Pinch of salt

Preheat oven to 350F.

  1. Mix apple slices with lemon juice, spices, salt and sugar in a large bowl.
  2. Mix crumble mix with chopped almonds and milk.  
  3. Place apple mixture in a baking dish and top with crumble mixture.
  4. Bake for 50 minutes or until apple juices are bubbling and crumble topping is nicely browned.
  5. Allow to rest for 2-3 hours.

Serve.

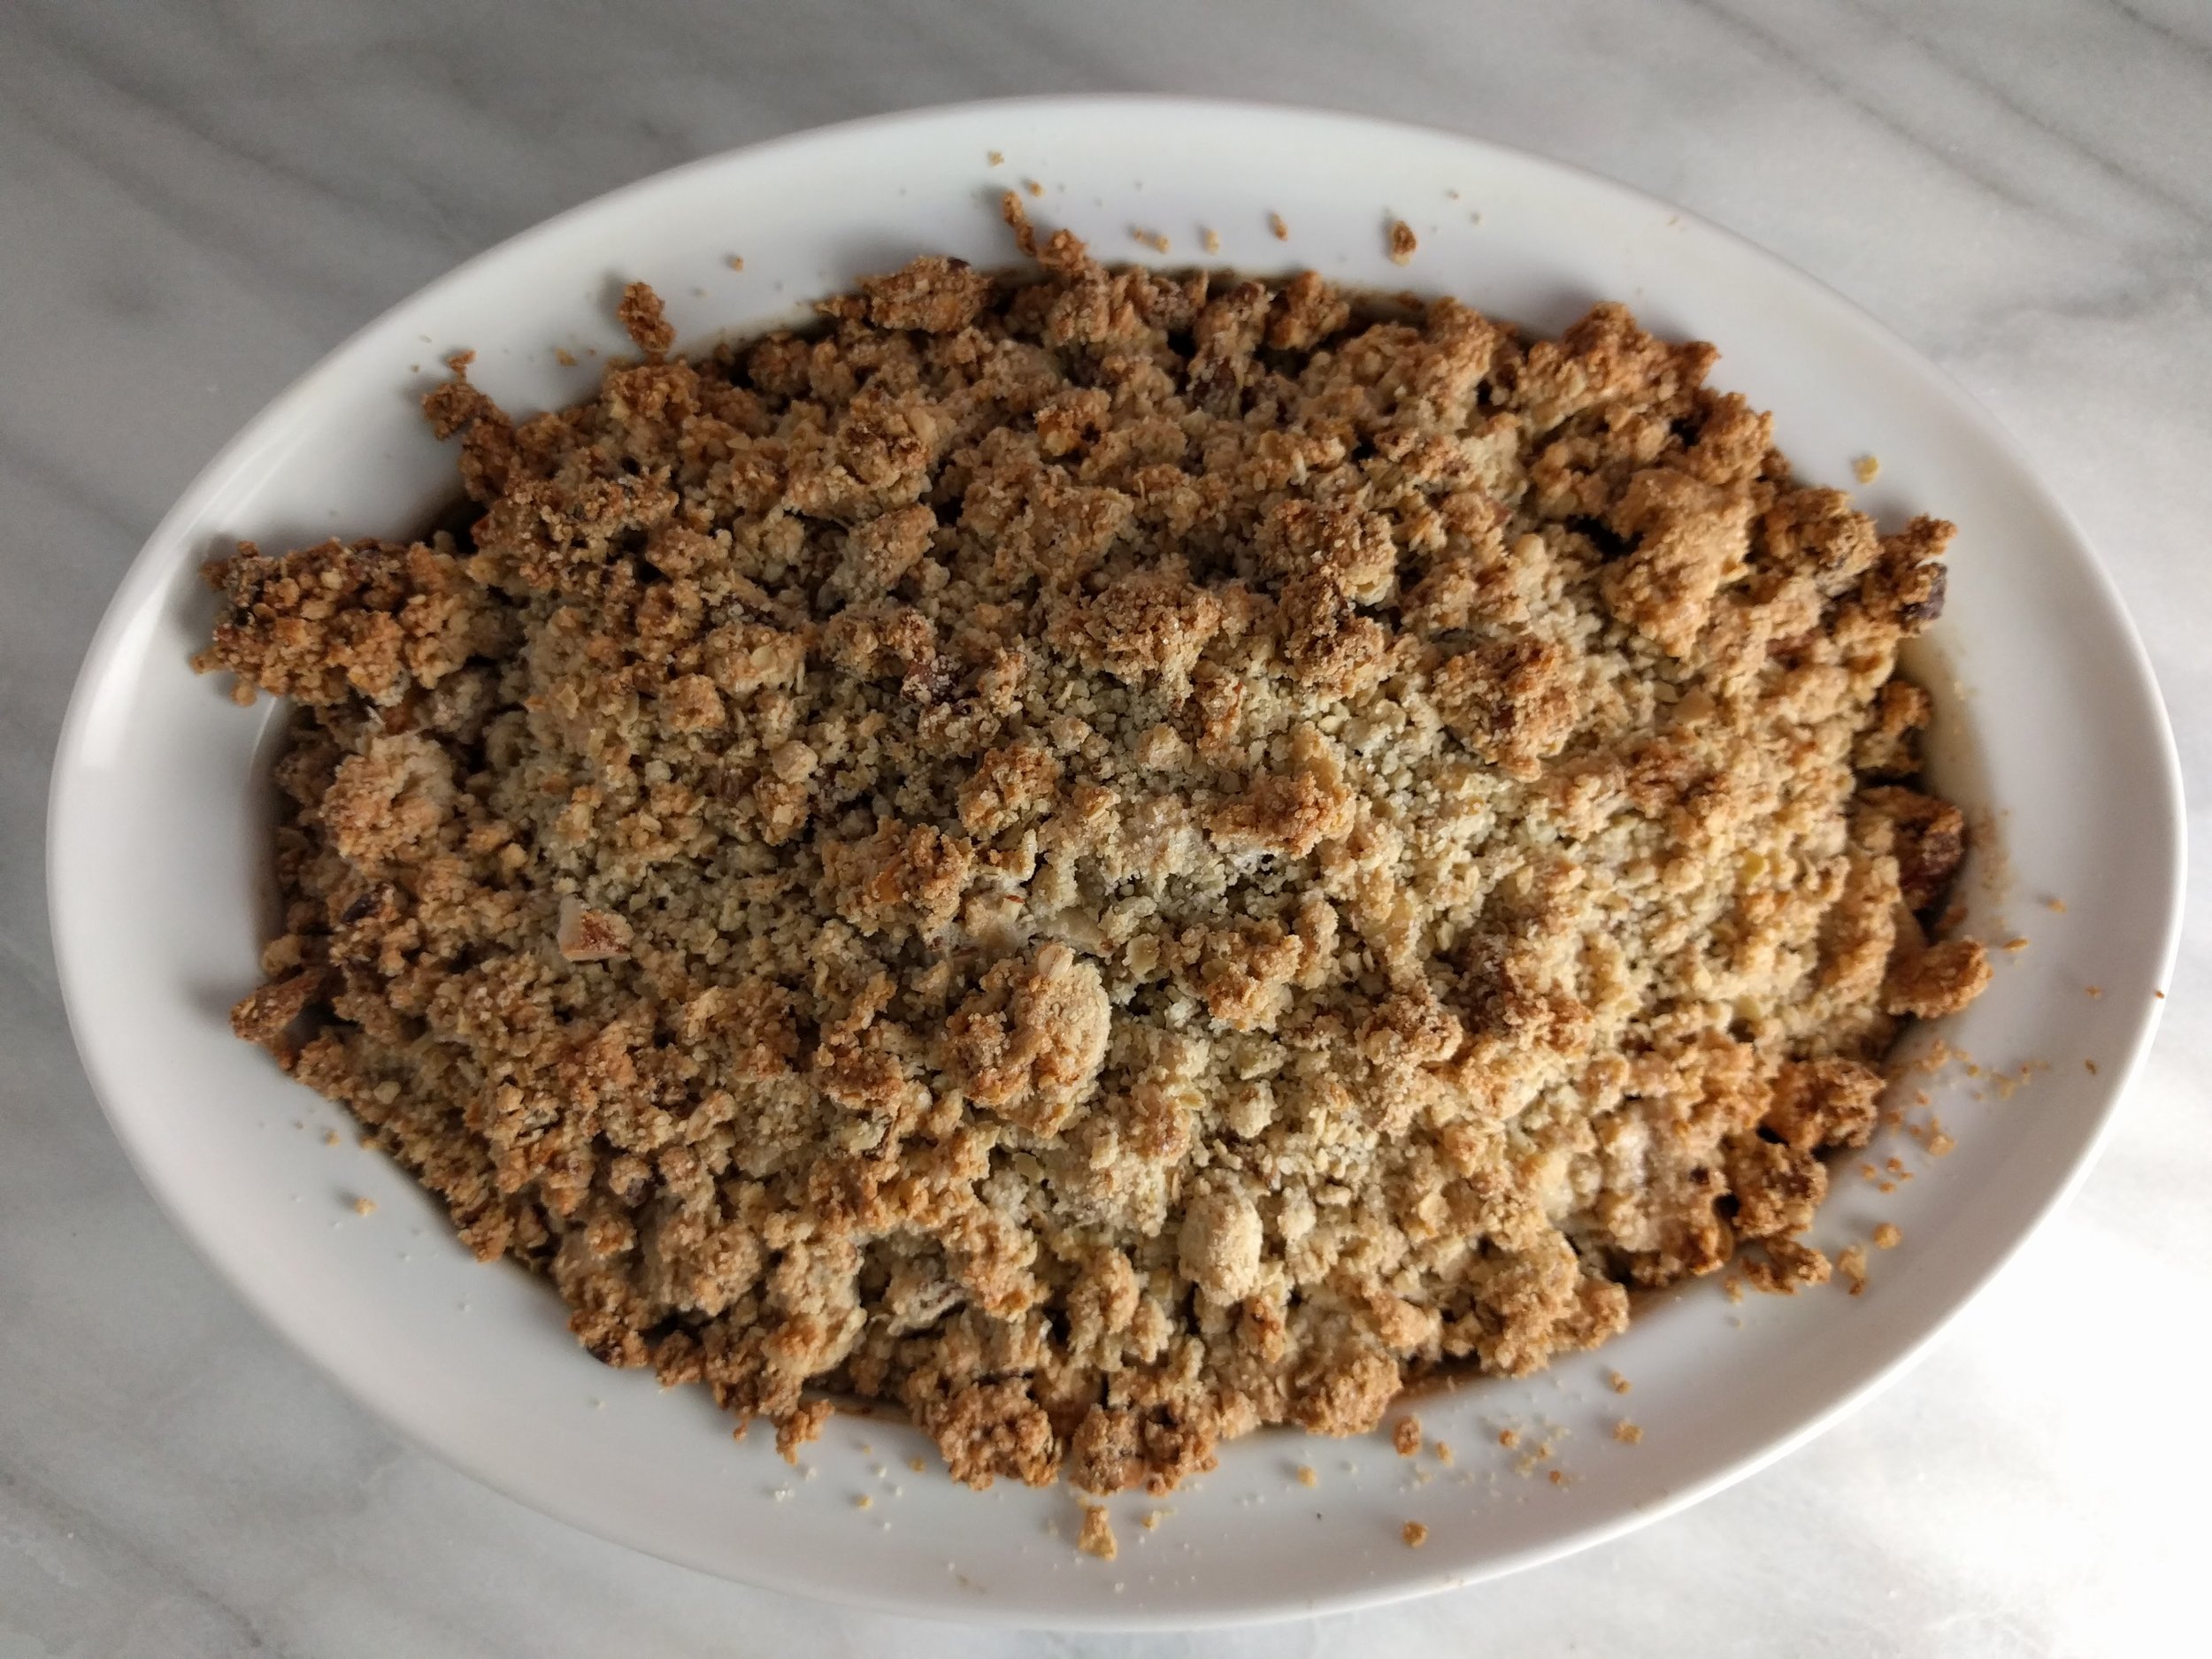
Browned beauty. 

Browned beauty. 

A couple of notes on using the mix.  I didn’t follow the directions on the box which called for a higher cooking temp and shorter cooking time. I did this for a couple of reasons.  First, since I added almonds to the crumble part, I was afraid that they would start to burn at the 400F directed so I lowered it to 350.  Second, I cooked the whole crumble for about 50 minutes which was significantly longer than the 20-25 prescribed on the box.  This was because I used apples, which take longer to cook than some fruits, like berries or peaches. If, for example, I were to use this mix to make cherry crumble with cherry pie filling and no nuts in the topping, I would probably do it exactly as directed.

This crumble mix will go in my pantry from now on. It wasn’t too sweet and came together in seconds with just a splash of milk.  I can already think of a million other ways to use it - on top of coffee cake, banana bread or muffins, in lieu of a top-crust for a pie, on baked oatmeal or even donuts.

And just like that, I’m excited about baking again. What a difference a week makes.

Put 'Em Up: Oven Roasted Tomatoes

john barry

IMG_20170827_084136.jpg

To say that I don’t have a green thumb is more than an understatement. My brother Mark, got the green thumb in the family, along with all of the musical ability, thick dark, curly hair and eyelashes, and well, a lot of things I still wish I had. When he lived in Brooklyn he basically had the secret garden growing in his apartment.  In contrast, I could kill a bamboo plant.  But I love the idea of growing my own food. So I have two raised planters in the backyard where I’ve been growing herbs, peppers and some vegetables for the last few years.

It’s great to have fresh herbs growing in the backyard because I cook with them so much and hate spending $2 here and $3 there to buy them at the store (in quantities that I don’t really need or use). I’ve also been growing peppers: Shishitos, Banana peppers, Jalapenos, Serranos and, this year, Poblanos - mostly because they are easy to grow and the bunnies don’t like them.  An added bonus is that when I have a zillion peppers ready at the same time in mid-August I am able to pickle and candy them.  The best part? We actually eat all of those jars of peppers throughout the year.

IMG_20170827_112126.jpg

This year, we planted a cherry tomato plant that basically took over the garden. We obviously should have built some kind of structure so that it could grow upwards instead of out.  Lessons learned. Because the growing season in Chicago is so short and grocery store tomatoes are nothing like homegrown ones, I never, ever, EVER get sick of eating fresh tomatoes. However, when the tomatoes finally started ripening on our single plant, we had too many for the 5 of us to consume.  So, last weekend I decided to slow roast a couple of trays of them with garlic and herbs and throw them in the freezer. It really couldn’t be easier and the hands-on time is 5 minutes tops.

These little guys are great in pastas, soups, braised chicken or meat dishes, piled on top of a big scoop of hummus, or as a bruschetta topping.  Beware, these little guys really cook down and as they do, they shrivel up until they start to look like sun-dried tomatoes. But that’s the whole point. As they dry out in the oven their flavor is concentrated and they become chewy and even sweeter.  After they are roasted I like to drizzle them with a little bit of honey to accentuate that natural sweetness even more.

IMG_20170827_084254.jpg

Oven Roasted Tomatoes

  • 2-3 lb cherry tomatoes
  • 12 cloves of garlic, whole (unpeeled, I used peeled because I had pre-peeled garlic on hand, unpeeled is better)
  • A bunch of fresh herbs, I used Thyme for one pan and Tarragon for the other
  • Olive oil, enough for a generous drizzle over the tomatoes
  • Salt and Pepper to taste
  • Honey or agave nectar, to taste (optional) 

Preheat oven to 300F.  

Cut tomatoes in half and put seed side up along with garlic cloves on a sheet pan covered with a baking mat or sheet of parchment paper.

Drizzle with olive oil.

Sprinkle with fresh herbs, salt and pepper.

Slip sheet pans in the oven and cook for a total of 2-3 hours, rotating from top to bottom (if you have two pans in there) about 1 hour in.

Tomatoes are ready when they have cooked down and dried out considerably and have become chewy but remain tender with concentrated tomato flavor. Taste them and take them out when you think they are done.

tom.jpg

Allow to cool at room temperature before placing in labeled bags (I always think that I will recognize things months later in the freezer but I never do) or other containers in the freezer.