Contact Us

Visit us at one of our three store locations to find Irish Jewelry, Claddagh Rings, Irish Sweaters, Irish Foods, Guinness Products, Waterford and Belleek.

Call us at one of the numbers below or use the accompanying form to contact us.

The Irish Boutique - Long Grove, IL (847 634 3540)

Paddy's on the Square - Long Grove, IL (847 634 0339)


228 Robert Parker Coffin Road
Long Grove, IL, 60047
United States

847 634 0339

The Irish Boutique is an Irish import store that has been located in the Chicago land area for over 40 years.  The shop stocks a variety of products ranging from Irish jewelry, crystal, china, food, sweaters, caps, t-shirts and a wide variety of Irish gifts. 

Cooking Blog

Visit our blog to read about Michelle Barry's adventures in cooking and eating Irish cuisine and to learn about new products and upcoming events. 


Milwaukee Irish Fest and Late Summer Disappearing Roasted Tomato Tart

john barry

The kids love these hats and gloves. I actually want one of these hats for myself!

The kids love these hats and gloves. I actually want one of these hats for myself!

This weekend is Milwaukee Irish Fest! I have a love-hate relationship with Milwaukee Irish Fest due to Paul’s OBSESSION with it. He made us schedule our wedding and shorten our honeymoon so that we could be back in time for the fest. As we speak, my brother-in-law has a moving truck in the driveway full of all of the stuff they need for their booth. My sister-in-law is staying in Milwaukee so she can work with her brothers all weekend. It truly is a family affair.  Despite all of the hard work, long nights, and, in previous years, long drives back-and-forth from Chicago to Milwaukee, it’s Paul’s favorite weekend of the year. He will be in the store this weekend but at the fest each evening after he closes so be on the lookout for him if you go! I’m happy that we are so much closer now and I’m glad the festival is back. 

This one’s definitely my child.

This one’s definitely my child.

Unlike my relationship with the fest, I unequivocally LOVE this time of year.  As a sun worshipper, late August is probably the best time of year for me, weather wise. But it’s also bittersweet because the school-year is approaching and everything is about to become more scheduled, the days will be shorter, the cold will come. I try to set these things aside and just soak in the last of the summer. As part of that, I usually go crazy with summer produce, canning and freezing and trying to preserve a tiny bit of summer that can be pulled out of the pantry in the dead of winter. I also try to make my favorite summer foods before it’s too late. 

And do I love any food more than a savory tart? I love that you can make them ahead. I love that they always taste best at room temperature. I love that they transcend seasons and  “meal times” and are good any time. I love that they travel well.   I love that they aren’t fussy, you can cut off a wedge and eat them out of hand. I love that they are easy to make. I love that they don’t need meat to be delicious. I could go on and on. In late summer, I also love tomatoes. People say they get sick of them, and I guess I get it, when you have a garden and they all come at once or all come for a long time (I’m looking at you, people with longer growing seasons) you can get inundated with them.  How much caprese salad can a person eat? Well, I can eat a lot actually. But, I also love to take some of that bounty and roast it.  I slow-roast cherry and grape tomatoes this time of year and freeze them to toss with pasta or throw into soup once it starts getting cold outside. 

The other day, I married two of my favorite things, roasted tomatoes and savory tarts. As expected, I was in heaven.  Admittedly, the recipe is sort of involved, the kind of recipe I usually don’t like, too many components, sub-recipes (ugh), too time consuming. I get it. But, none of the elements require a lot of hands-on time, and when you make most of them ahead, it only takes a few minutes to throw together and bake. I had the pastry dough and caramelized onions in the freezer, so that part was done. And I roasted the tomatoes a few days before so I was able to roll out the dough, top it, chill it and pop it in the oven, get on a conference call and pull it out to cool before my next meeting.  

All I could think about during that second meeting was lunch. The smell of this tart cooling in my kitchen was highly distracting. By the time the meeting was over all I wanted to do was eat. It's no wonder I didn’t take a photo of my masterpiece, eh hem, the tart. It was SO good. The next day, I had another slice for lunch. An hour later, it occurred to me that I hadn’t taken a photo of the tart since it came out of the oven. But when I went back to the kitchen, the rest of the tart was gone. The kids had eaten lunch already and left with the babysitter. No one was even home! I searched high and low, wondering if I accidentally put it in the freezer or the pantry or somewhere it didn’t belong. Nope. It had literally vanished into thin air. I was less worried about the fact that this could mean someone was in my house unbeknownst to me, than the fact that the rest of the tart was gone. If I had criminal leanings, I would definitely steal a tomato tart over the tv so I knew this thief  and I would get along just fine. 

When Paul got home from the store, he brought the remaining piece of the tart with him. I was so happy to see him it.  As it turned out, when Emmett was “working” at the store that morning, Paul asked him to bring him some lunch after he got home. So Emmett brought him the tart when the kids left the house with the babysitter.  Mystery solved. But the fact that two people can almost finish this tart in just two days is evidence that it does, in fact, disappear. I know it’s asking a lot, all of the steps, the roasting, the dough etc. but you should really give it a go. The roasted tomatoes are good on their own so if you have a lot, I highly suggest doubling or tripling the amount. They freeze well. I throw a few over a bed of arugula and eat them with creamy burrata and a drizzle of olive oil for a fancy yet super-quick working-from-home lunch. They taste like the last, most special part of summer. 

The tart definitely doesn’t need the ham. Next time I will leave well enough alone!

The tart definitely doesn’t need the ham. Next time I will leave well enough alone!

I will also add even more basil.  I added caramelized onions  that I had in the freezer .  In the instructions, I streamline this process by adding the onion/shallots to the roasted tomato mixture.

I will also add even more basil. I added caramelized onions that I had in the freezer . In the instructions, I streamline this process by adding the onion/shallots to the roasted tomato mixture.

This is what the roasted tomatoes should look like, still soft, not too shriveled or dry but not juicy like raw ones either.

This is what the roasted tomatoes should look like, still soft, not too shriveled or dry but not juicy like raw ones either.

IMG_20210818_111209253.jpg
It’s a galette, I don’t think it’s supposed to look perfect.  Personally, I never try to make it look uniform which starts with the fact that I don’t worry much about the edges when I roll it out, but if you are more of a perfectionist, you can roll it into an actual circle and crimp it all over in a more symmetric way.

It’s a galette, I don’t think it’s supposed to look perfect. Personally, I never try to make it look uniform which starts with the fact that I don’t worry much about the edges when I roll it out, but if you are more of a perfectionist, you can roll it into an actual circle and crimp it all over in a more symmetric way.

Don’t forget the egg wash! It gives your crust color.

Don’t forget the egg wash! It gives your crust color.

Crust 

  • 2 cups All-Purpose Flour

  • 3/4 teaspoon salt

  • 1/2 teaspoon baking powder

  • 16 tablespoons unsalted butter, cold

  • 1/2 cup sour cream, cold

  • 1 egg (for egg wash)

Tomatoes

  • 2 lbs fresh tomatoes

  • 1 small onion/2-3 shallots (optional) 

  • ¼ cup olive oil

  • 1 tbsp combination of fresh thyme and rosemary

  • Salt to taste

Filling

  • 1-2 cups roasted tomatoes

  • 1 cup shredded cheese (white cheddar, gouda, whatever you like)

  • ⅓ cup sour cream or creme fraiche

  • ¼ cup caramelized onion or shallot

  • 2 tbsp or more chopped fresh basil

  • 2-3 slices of ham (optional)

Roast the tomatoes (and onions/shallots)

Preheat oven to 250 F

Cut tomatoes into ¼ inch thick slides or halves if you are using cherry or grape tomatoes. 

Cut shallots, if using in thin slices

Toss tomatoes and onions/shallots (if using) in salt, olive oil and fresh thyme and rosemary

Spread tomato mixture on a large baking sheet and roast for 2-3 hours until there is no longer liquid pooling on the baking sheet but tomatoes are still soft to the touch.

Make the crust

Whisk together the flour, salt, and baking powder. Add the butter, working it in to make a coarse/crumbly mixture. Leave most of the butter in large, pea-sized pieces.

Add the sour cream, and stir with a wooden spoon until it starts to come together. 

Dump it out on a floured work surface and knead until you can form it into a ball. 

Shape the ball into more of a square and roll it out until it’s about half an inch thick. Then fold it in three, like a letter. 

Flip the dough over, turn it 90 degrees and roll it out again into a large rectangle.  Fold it in three again.  

Fold your letter of dough in half once more so it is basically a rectangle and chill for at least 30 minutes before using. 

Assemble and bake

Heat oven to 375 F and put oven rack on lower middle half of the oven

Roll out dough into a rough circle

Sprinkle with cheese (and pieces of ham if using) leaving a 1 inch border all around where you will fold over the edges later

Add basil to sour cream and spread over cheese

Top with tomato mixture

Sprinkle with more cheese

Fold up edges of dough to form a border of crust

Whisk egg in a bowl and brush onto crust

Put tart in the freezer for 10-15 minutes to resolidify the butter in the crust. This prevents it from melting, which would allow the water in the butter to interact with the gluten in the flour, resulting in a less-flaky, more bread-like dough

Bake for 35-45 minutes until crust is brown and cooked through - use a spatula to lift galette and take a peek at the bottom of your crust to make sure it’s golden before removing from the oven. 

IMG_20210820_101136285.jpg

Be warned. This will literally disappear.


The Cedarburg Store is Open!

john barry

The Store! Isn’t it cute?

The Store! Isn’t it cute?

The store is open! Actually, it has been open.  For a month. It’s hard to believe. I’m late to the game here but it’s been a busy few weeks. We’re finally feeling settled in our new home, our new town and getting used to the changes that come with owning a small business.  Paul is working 7 days a week which is a lot, but he loves it! I’m trying to keep the kids occupied all weekend long, which is a lot too - thank goodness I love them. A lot has changed in our lives but as kids do, mine are demonstrating flexibility and resilience and have not skipped a beat. They started playground camp a few days after we moved and have made so many friends.  They are already regulars at the local pool, have favorite restaurants and love the outdoor concerts that are held every Friday night here in Cedarburg. This community has been so warm and welcoming to our family. We’re finding that Cedarburg has all of the charms of a small midwestern town AND there is so much going on here all of the time. It’s pretty amazing. I feel so lucky to be here and to be able to raise our family in a place like this.  

Ozaukee County Fair.

Ozaukee County Fair.

Summer Sounds.

Summer Sounds.

Finally, after months of our lives being in flux and the contents of my kitchen being mostly in boxes, I’ve started cooking “for real” again. Paul and I decided that moving is not good for your health. Between having nothing in our kitchen cabinets for months after refinishing them to get the house ready to sell, being kicked out of our house for showings and all the trips back and forth between Cedarburg and Chicago, we’ve never eaten out more, or eaten as much junk. It feels so good to have my little hydroponic deck garden going full force and a fully stocked kitchen. I’ve also set it all up to promote efficiency.  When we started packing, I noticed that I had about a million glasses jammed in my cupboards when we only ever used the same two. The kids were always scaling my counters to get to their bowls and plates, which drove me bananas. We also had the weird “desk in kitchen” area that always ends up full of random junk - ours had drawers full of tools and hardware intermingled with tiny plastic toys, pens and pencils and old small electronics, cords, etc.. Ugh. Once we bought the new house, I vowed to be mindful about how I set up the kitchen, what I allowed in and where I put things. Now I’ve got boxes upon boxes of glassware in the basement that I will probably unload on the kids when they grow up and get their first apartments. I’m just glad they aren’t crowding my cupboards.  

Notice all my kids plates, bowls, cups and silverware on the second to the bottom shelf? And FINALLY a home for my appliances (other than my counter). If you told me 20-years ago that THIS would be improving my quality of life immensely, I would have been shocked and horrified. #momlife

Notice all my kids plates, bowls, cups and silverware on the second to the bottom shelf? And FINALLY a home for my appliances (other than my counter). If you told me 20-years ago that THIS would be improving my quality of life immensely, I would have been shocked and horrified. #momlife

Despite my rekindled interest in cooking, summer is not the season for it in my mind. In summer we like to grill, eat all of the tomatoes and peaches we can get our hands on, and eat outside as much as possible. But I have made a few things in the new kitchen.  For the fourth of July, I endeavored to make these amazing looking blueberry hand pies, but quickly figured out it was way too hot to make individual pies. What was I thinking? I ended up making a berry filling and an apple filling and turning the pies into galettes. Funny how sometimes failing is lucky.  If I hadn’t attempted the hand pies, I probably would have used a different pie crust recipe and never would have discovered how delicious the sour cream crust was. Maybe I’ll try to make hand pies again in the winter.

Half and half galette and one lonely hand pie.

Half and half galette and one lonely hand pie.

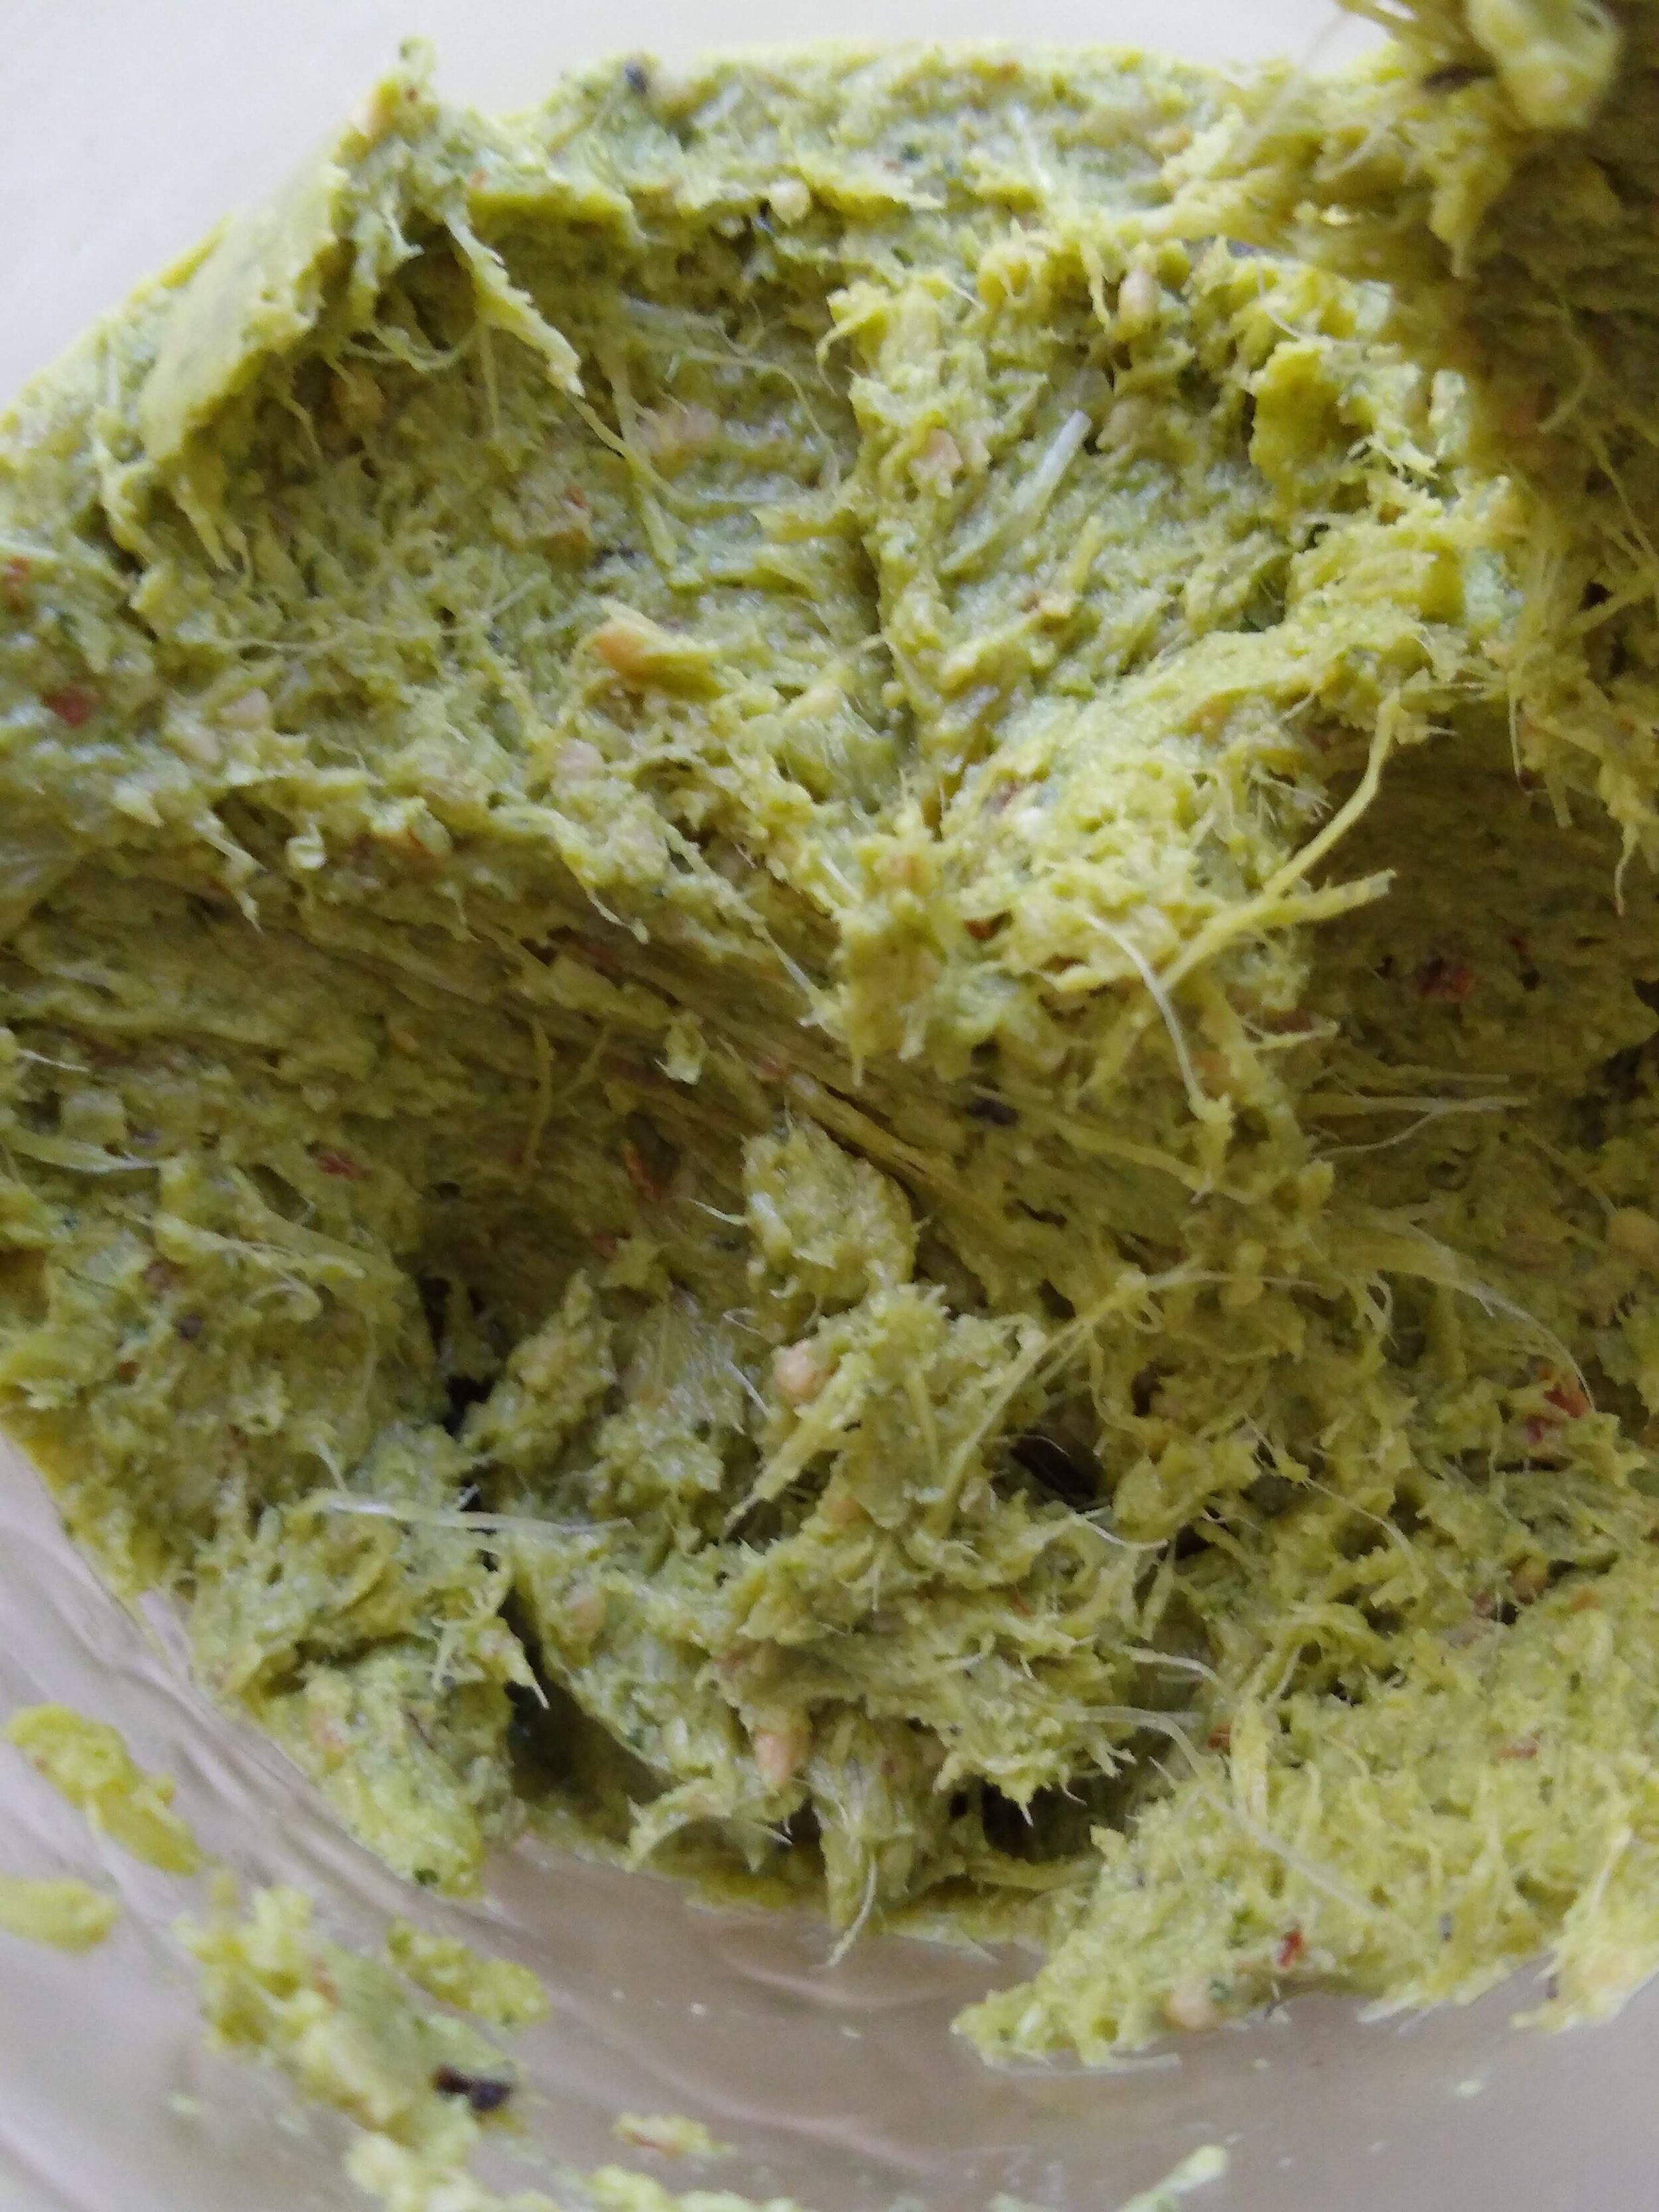
I also made garlic scape pesto with local scapes, arugula, salted almonds and lemon. It’s good on everything. I like to thin it with a little pasta water and use it as pasta sauce or add a little more lemon juice and olive oil and use it as a sauce for grilled meats, fish or veggies.  It keeps well and makes the most simple meal into something a little bit special. Here’s how you make it. 


My dad told me not to buy this.  He’s an avid gardener and thinks this is just a total waste of money.  I don’t exactly think he’s wrong, but I disregarded his advice and got it anyway. I LOVE it. It probably does cost just as much as say, always buying your produce at Whole Foods (so, too much), but I having all of my herbs and so much produce growing on my deck is such a luxury.  It’s hydroponic so I don’t have to water or anything. Amazing!!!

My dad told me not to buy this. He’s an avid gardener and thinks this is just a total waste of money. I don’t exactly think he’s wrong, but I disregarded his advice and got it anyway. I LOVE it. It probably does cost just as much as say, always buying your produce at Whole Foods (so, too much), but I having all of my herbs and so much produce growing on my deck is such a luxury. It’s hydroponic so I don’t have to water or anything. Amazing!!!

Ingredients

  • 1 bunch garlic scapes (~10 garlic scapes)

  • 1 cup arugula

  • ⅓ cup roasted salted almonds

  • Juice and zest of 2 small lemons or 1 large

  • ½  cup olive oil

  • ⅓ cup parmesan cheese

  • Salt to taste

  • Red pepper flakes (optional)


Don’t worry if you process and process and the pesto still looks a little fibrous. You’ll notice when you chop them how tough garlic scapes can be, even after blanching. But I promise these little fibers are soft, you don’t notice when you are eating.

Don’t worry if you process and process and the pesto still looks a little fibrous. You’ll notice when you chop them how tough garlic scapes can be, even after blanching. But I promise these little fibers are soft, you don’t notice when you are eating.

Directions

  • Cut scapes into 3-inch pieces. 

  • Blanch garlic scapes in salted boiling water for 1-2 minutes and immediately plunge into ice water. Drain scapes.

  • Add scapes, almonds, Parmesan and lemon zest to the bowl of a food processor and pulse until roughly chopped. 

  • Turn food processor on and slowly pour oil, followed by lemon juice and salt while continuing to process. 

  • Taste and add salt as needed.

This photo makes me sad. I wish I had more!

This photo makes me sad. I wish I had more!


Rachel Allen’s White Bread and Coming Soon...the Irish Boutique of Cedarburg

john barry

After living most of my adult life in Chicago, moving to another state with four kids in tow feels like a huge change. Monumental. Talk about logistics. And paperwork. New schools. New doctors and dentists. New friends (please!). But wait, there’s more. SO MUCH MORE!

We’re opening an Irish Boutique in our new town, Cedarburg, Wisconsin!!!!

It’s exciting, and scary and because it’s the family business we already know how much work it will be. But if there’s one thing that has really hit home for us over this last year is that life is short. We’ve thought and dreamt of doing something like this, not this exact thing, but something similar, for years. I don’t think there is ever a perfect time to take a leap of faith like this, a time when you feel really “ready”.  It feels kind of like having a baby for the first time, “Here goes nothing!” Ha. At least that’s how that felt for me. But I think we are as ready as we’ll ever be and thrilled to be opening a store in our new community.  So there you have it, hopefully this is it on the change front for a while. Cross your fingers for us! 

No front teeth! But he doesn’t let that stop him.

No front teeth! But he doesn’t let that stop him.

We’ve been lucky enough to have both houses for a short period of time which has allowed us to do this move in stages, thankfully, becauseI cannot bear the idea of living in a house full of boxes. Too chaotic! And it’s funny because living like this makes you think about what you really need and what you use on an every day basis. In terms of kitchen appliances, all I have left is a mini-food processor, my toaster and my bread maker. Thank goodness I still have those. The mini-food processor for making meatballs with “invisible” vegetables in them so Isla can brag that she ate a bunch of zucchini without actually confronting one in it’s natural form, and also for making frosting because Eve’s birthday is the weekend before we move-move. The toaster, um, for toast. And the bread maker, for the bread that we put in the toaster. Specifically, plain old white bread.

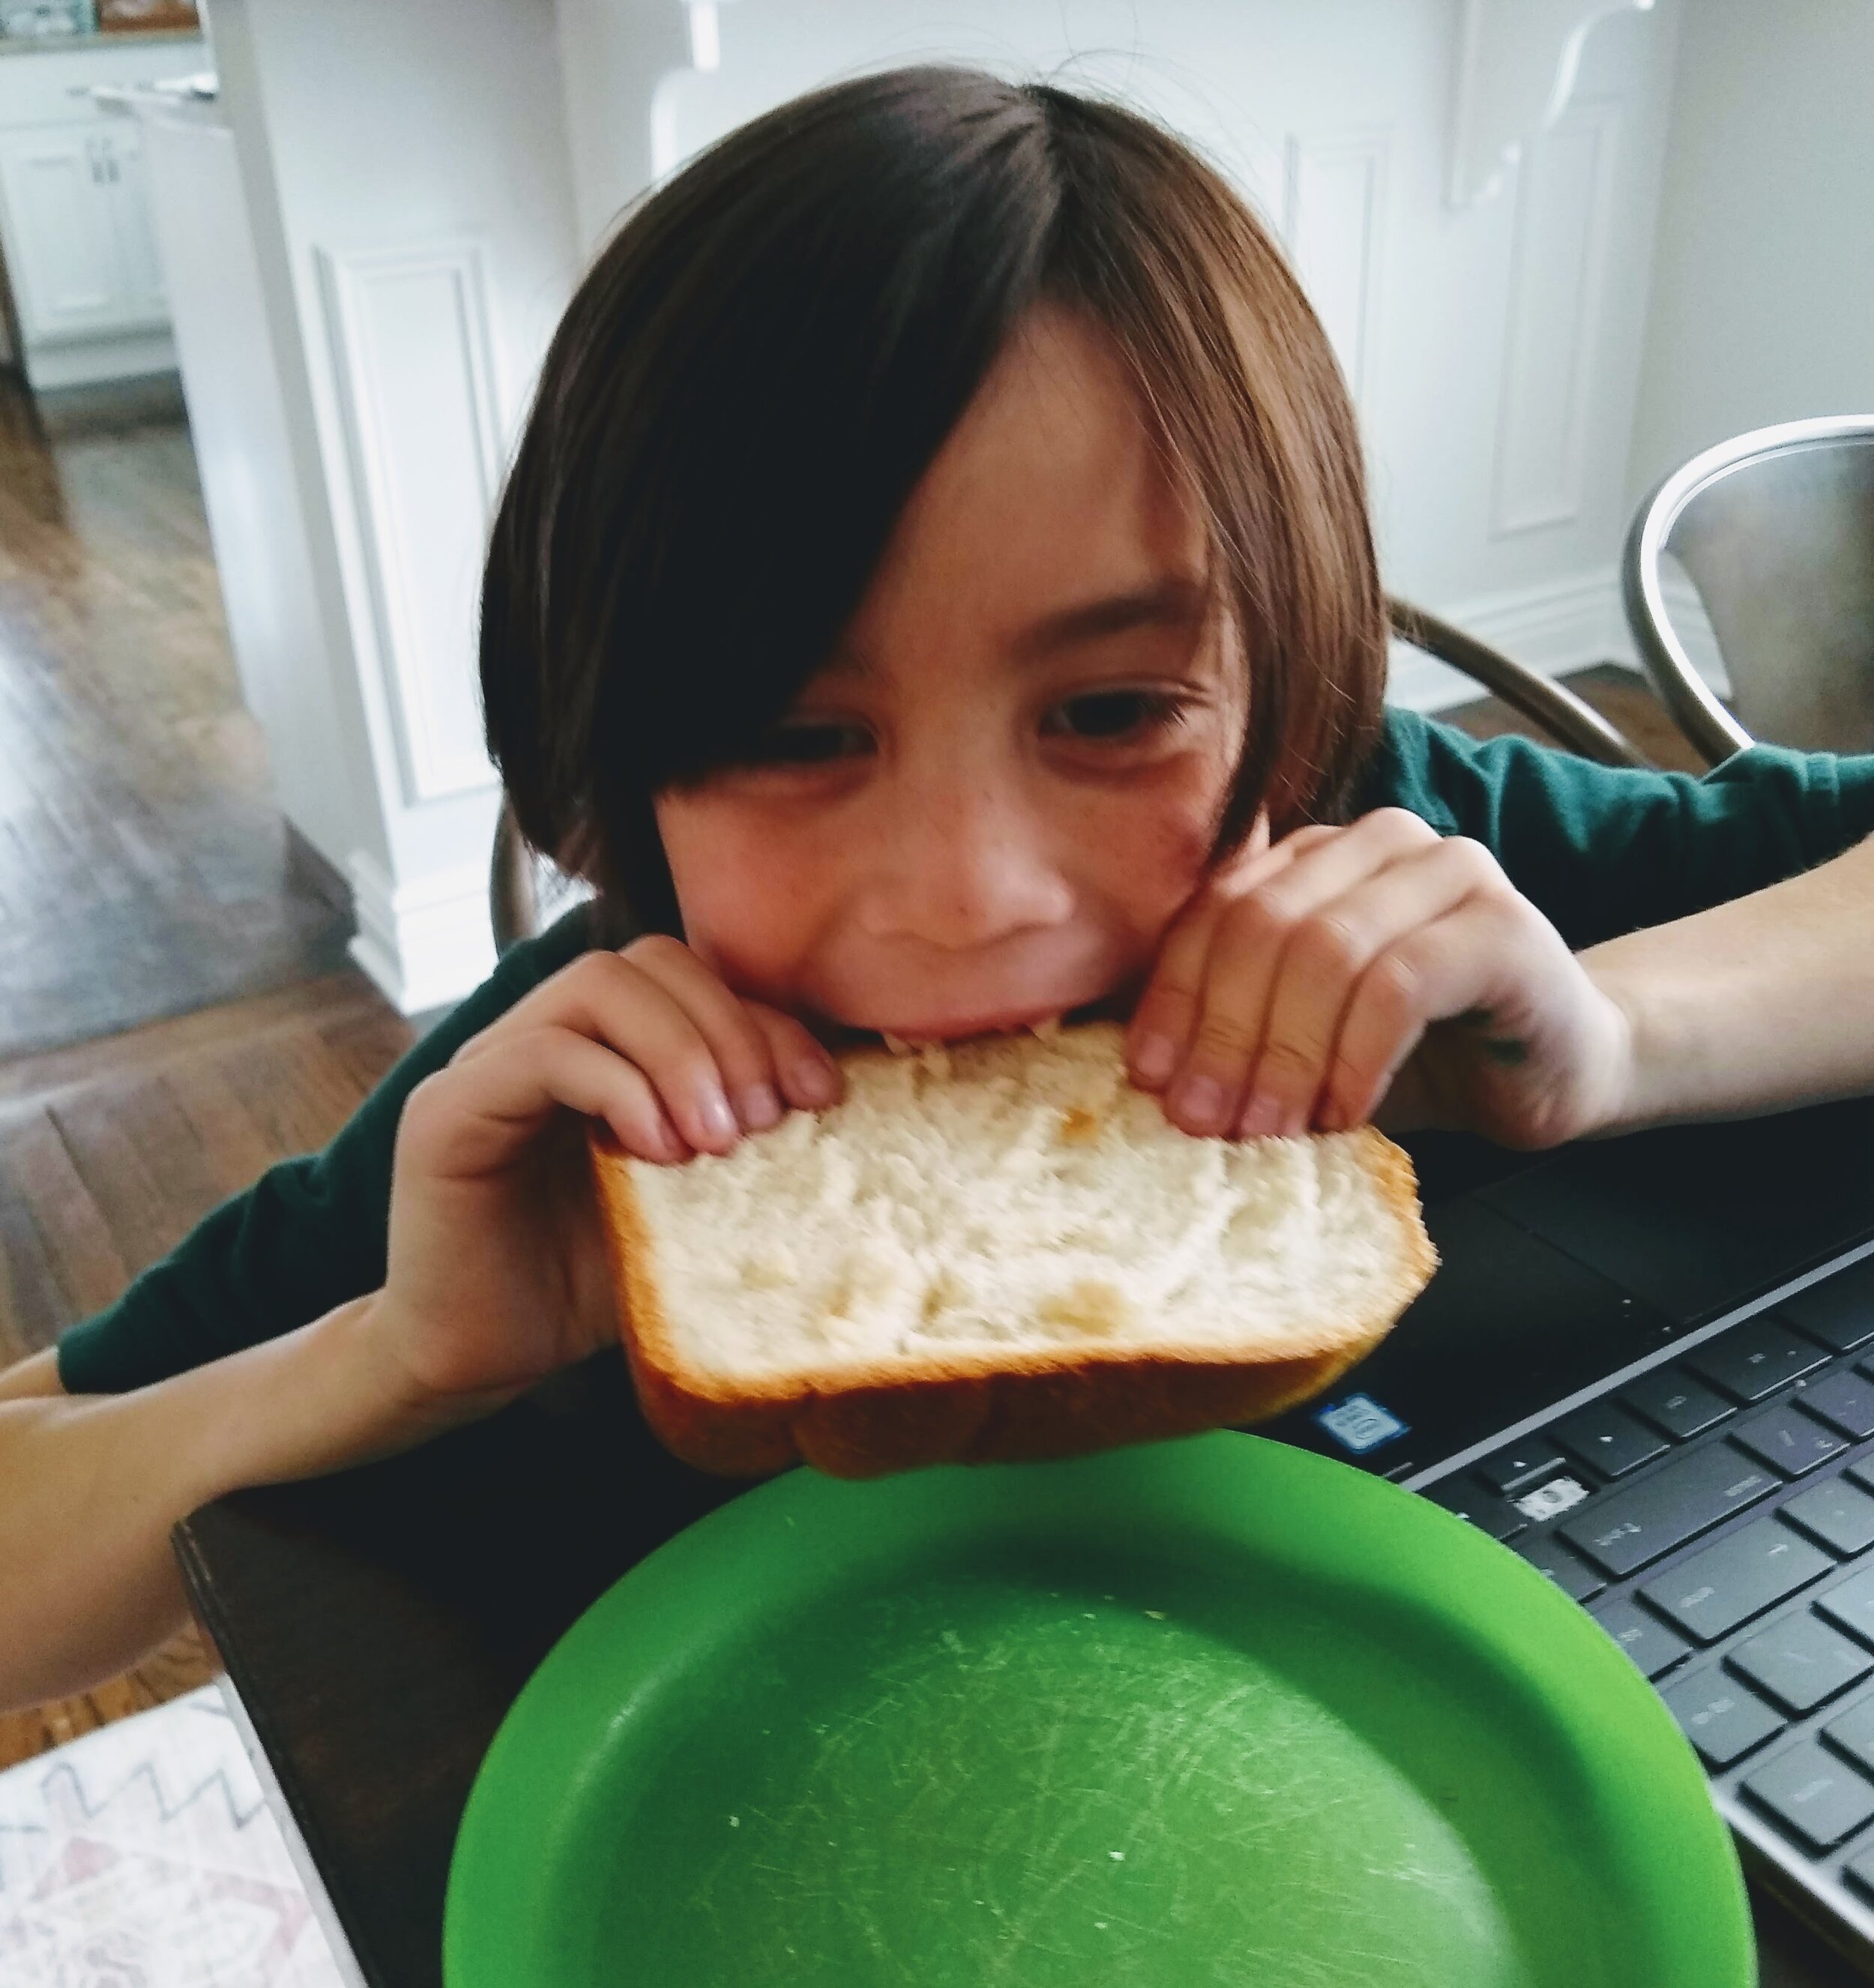
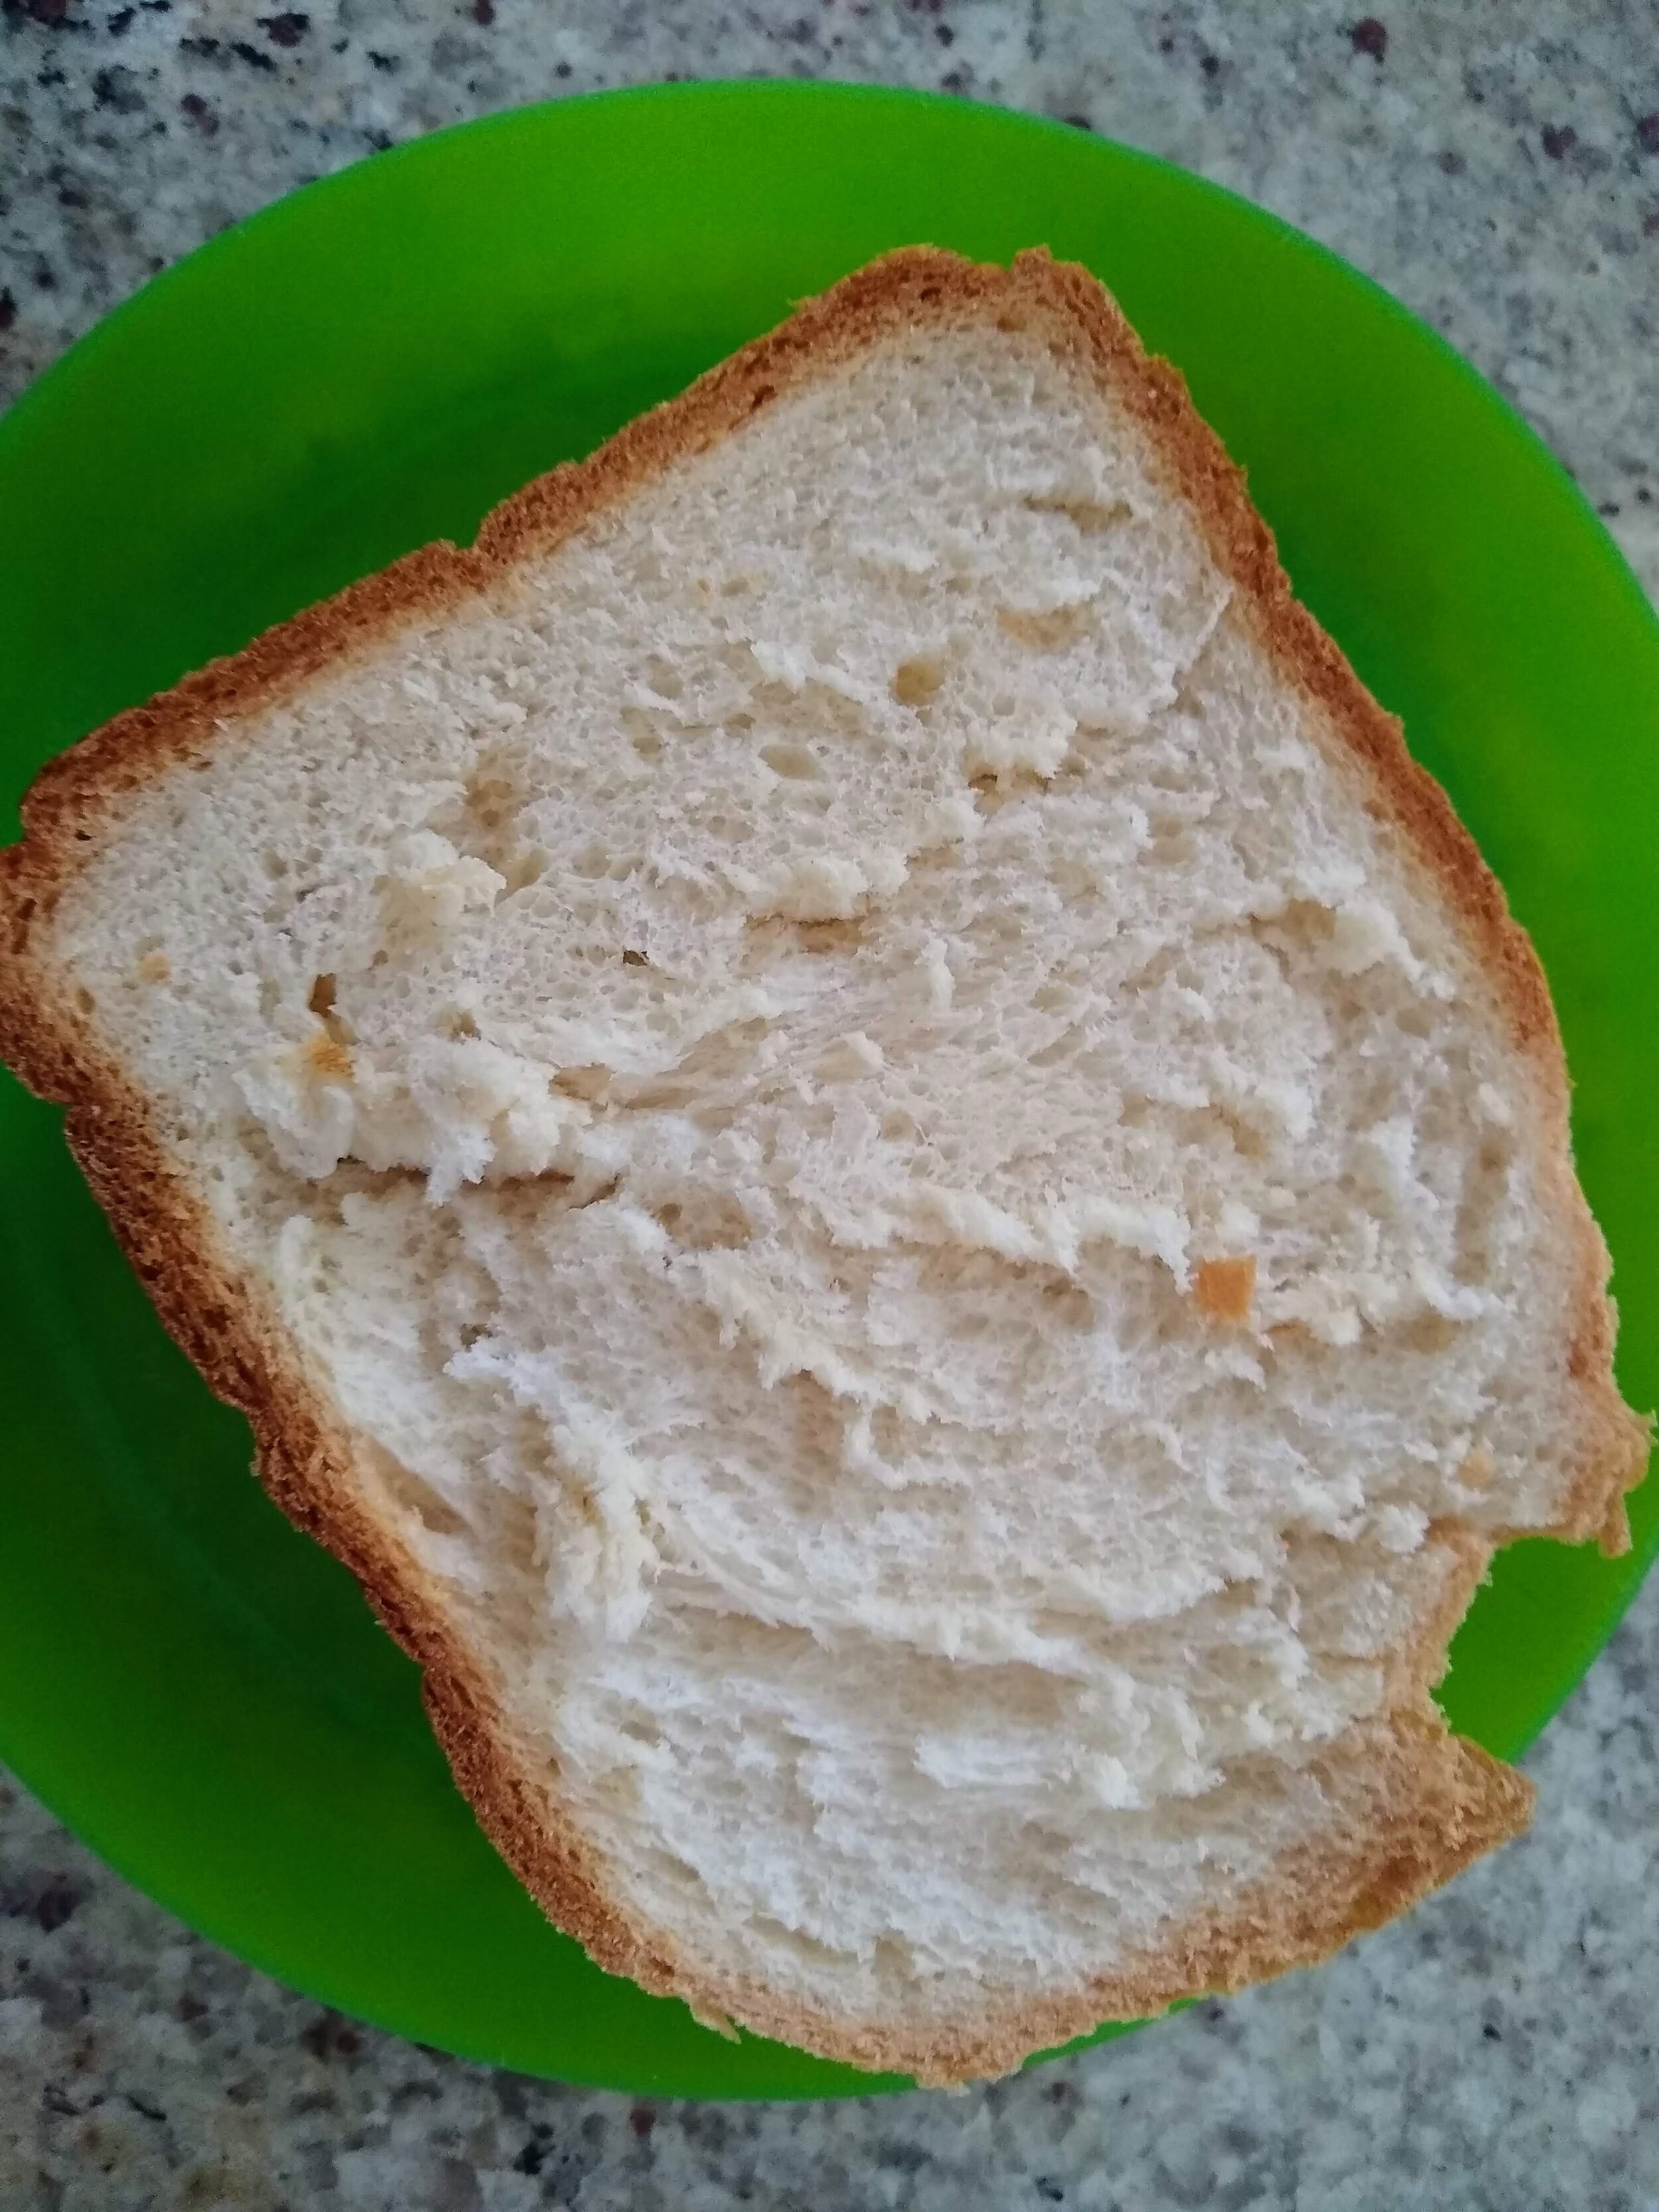
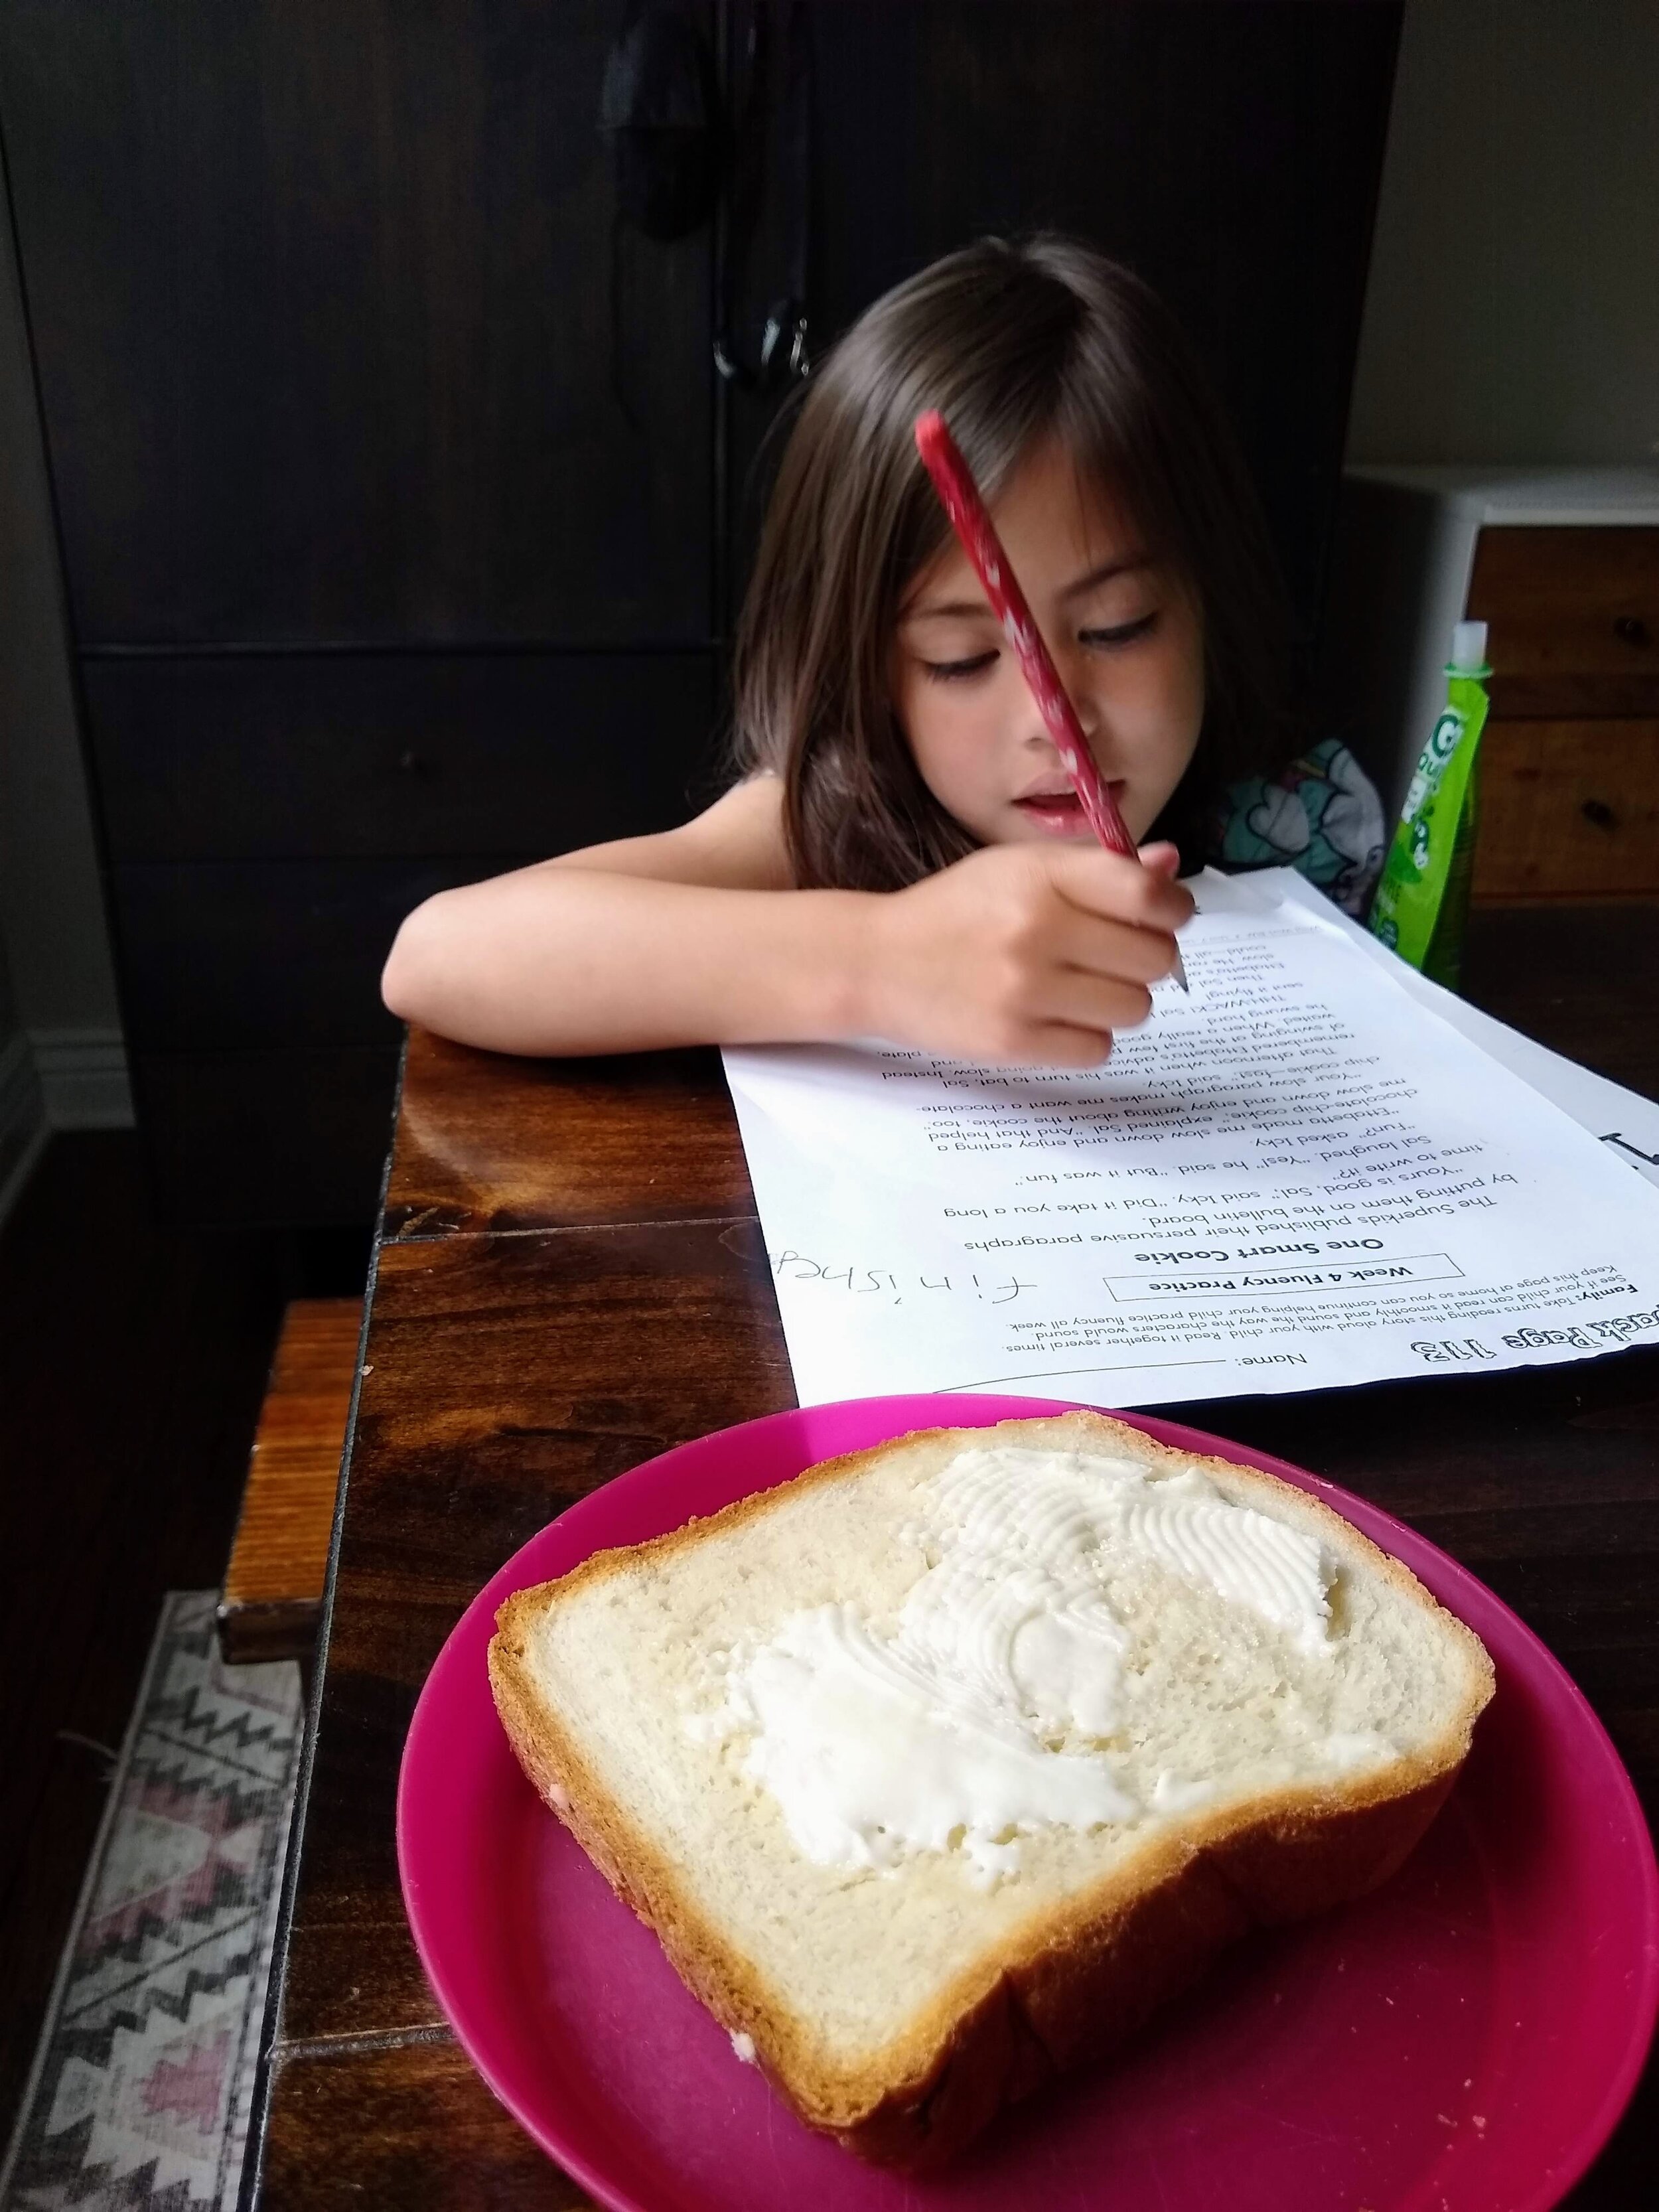
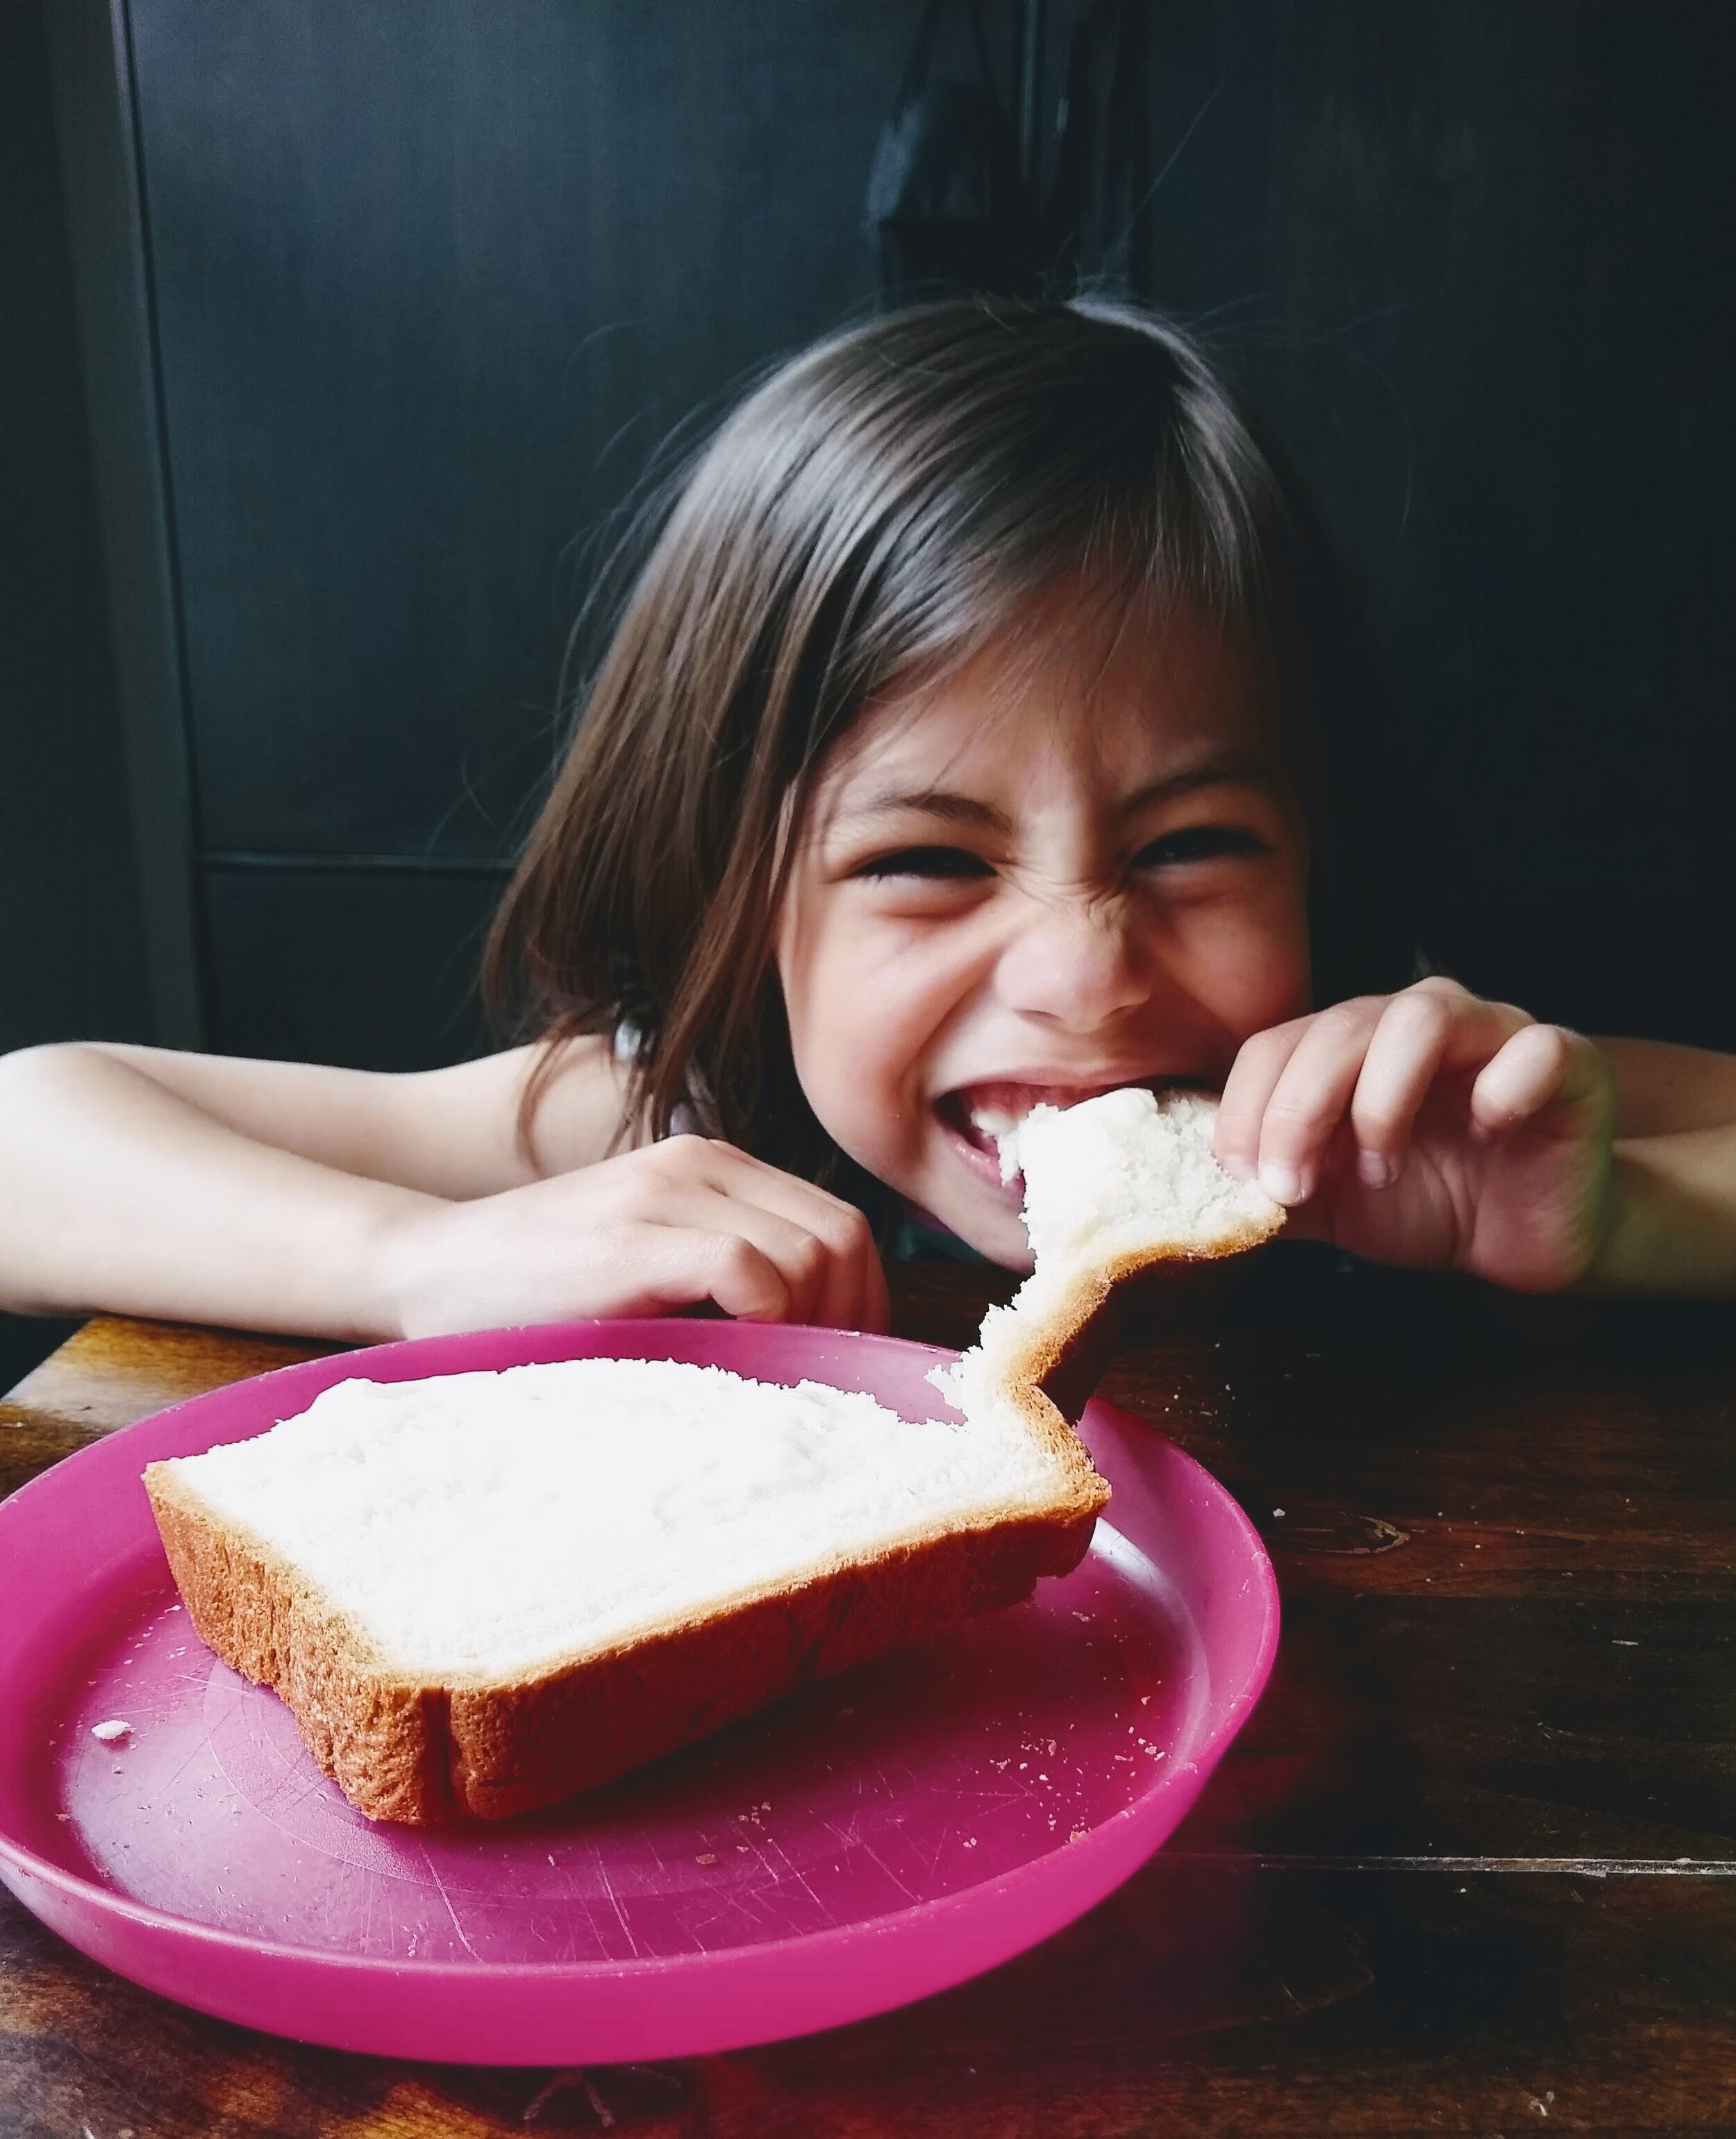
I mean, what do you want when everything about your life is changing both rapidly and drastically? Comfort. Carbs. White bread. My kids LOVE white bread. We all do. It’s so fluffy and soft. It makes the house smell amazing.  I swear my son can smell it from the front porch. None of us can refuse a slice of fresh bread, still warm from the oven (or the bread maker). There’s something magical that happens when you add yeast to simple ingredients: flour, salt, sugar, butter. I could bake a loaf a day for the rest of my life and still be awestruck at the power of yeast.  

So fluffy!

So fluffy!

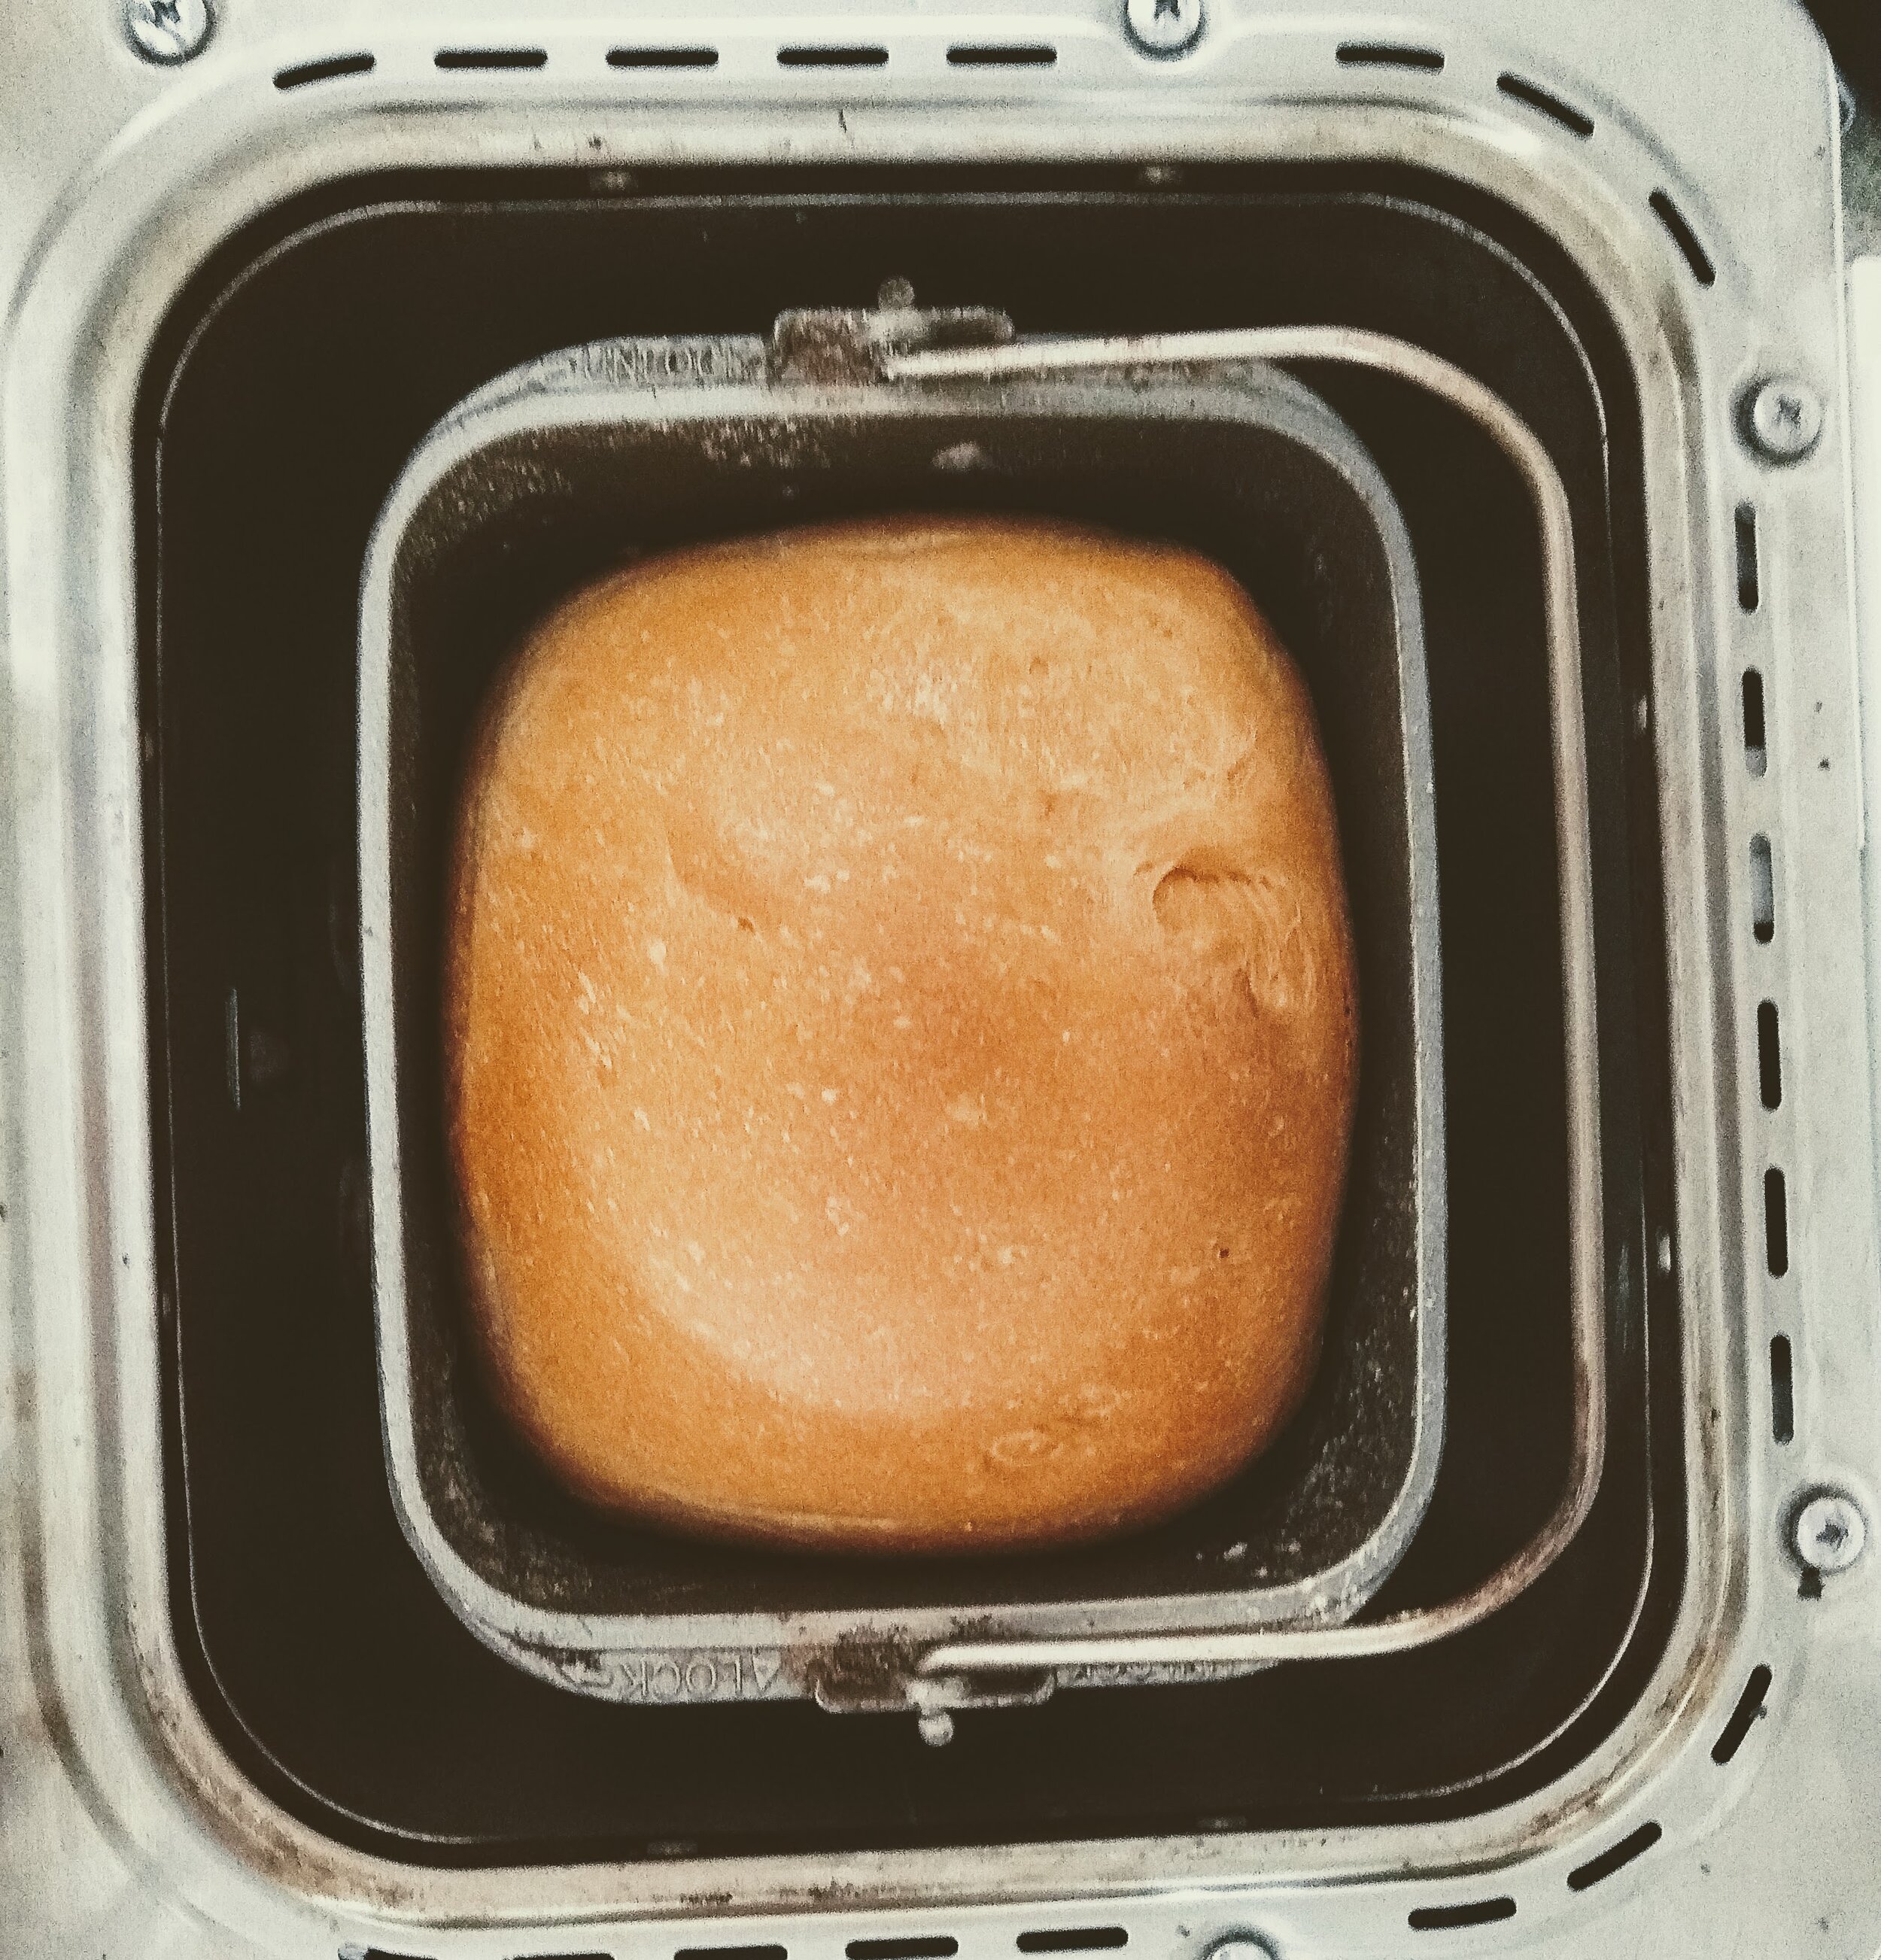
As you may have guessed, I bake white bread all the time. At least a couple times a week. I normally use a very simple recipe from the cookbook that came with my hand-me-down breadmaker. I’ve memorized it and could throw it together in my sleep. Today, not in the mood to leave my comfort zone, I decided to mix it up just a little. I looked up Rachel Allen’s White Bread Recipe and saw that it was very close to the one I normally use. Feeling confident that it too would be easy to throw together and, like all of  Rachel Allen’s recipes, comforting and delicious, I got to work. And by work I mean, collecting the ingredients and putting them in the canister of my breadmaker - so not that much work at all. I halved the recipe to make just one loaf but I’m including Rachel’s full directions because I’m the only person I know who owns a breadmaker. 

IMG_20210519_150939712_BURST000_COVER_TOP.jpg

White Bread 

(adapted slightly from Rachel Allen’s recipe which can be found here. )

Ingredients (for one loaf)

  • 1 tsp sugar

  • 7.5 fl oz warm water

  • 1 tsp dried yeast

  • 2 ¾ cups bread flour, plus extra for dusting

  • 2 tsp kosher salt

  • 2 tbsp butter, or 2 tbsp olive oil

  • vegetable oil, for greasing the bowl

  • 1 free-range egg, beaten (optional)

  • poppy or sesame seeds, for the top of the loaf (optional)

  1. Mix the sugar with about 1 oz of the warm water and yeast and let stand in a warm place for five minutes, or until frothy. If using fast-acting or instant yeast skip this step.

  2. Sift the flour and salt into a large bowl. Rub in the butter and make a well in the centre. (If using olive oil instead of butter, pour the olive oil into the remaining water.) Pour in the yeast mixture and most of the remaining water (and the olive oil, if using). Mix to a loose dough, adding the remaining water if needed, plus extra if necessary. 

  3. Knead for about ten minutes or until the dough is smooth and springy to the touch. (If kneading in an electric food mixer with a dough hook, five minutes is usually long enough.) Put the dough in a large oiled bowl. Cover the top tightly and place somewhere warm to rise until doubled in size. This may take up to two or even three hours.

  4. Preheat the oven to 425F.

  5. When the dough has more than doubled in size, knock back and knead again for 2–3 minutes. Leave to relax for ten minutes before you begin to shape the bread.

  6. Shape the bread into a loaf or rolls, transfer to a baking tray and cover with a clean tea towel. Allow to rise again in a warm place for 20–30 minutes, or until the shaped dough has again doubled in size. When fully risen, it should leave a dent when you gently press the dough with your finger. 

  7. Brush gently with the beaten egg and sprinkle with poppy or sesame seeds, or dust lightly with flour for a rustic-looking loaf. I did neither and just popped it in the breadmaker. 

  8. Bake in the oven for 10–15 minutes for rolls, or 30–45 minutes for a loaf, depending on its size. Turn the heat down to 400F after 15 minutes for the remaining cooking time. When cooked, the bread should sound hollow when tapped on the base. Transfer to a wire rack to cool.

Rachel Allen Bread.jpg

This was amazing fresh with a generous lashing of butter. I’m sure it would make lovely toast, if it lasted that long.  I’m not going to find out this time, but I will definitely make it again. 

So there you have it. Life changes. Comfort food. And more to come about the new store soon!